


How to install the Brigitte Renee Preset in the Free Lightroom Mobile App
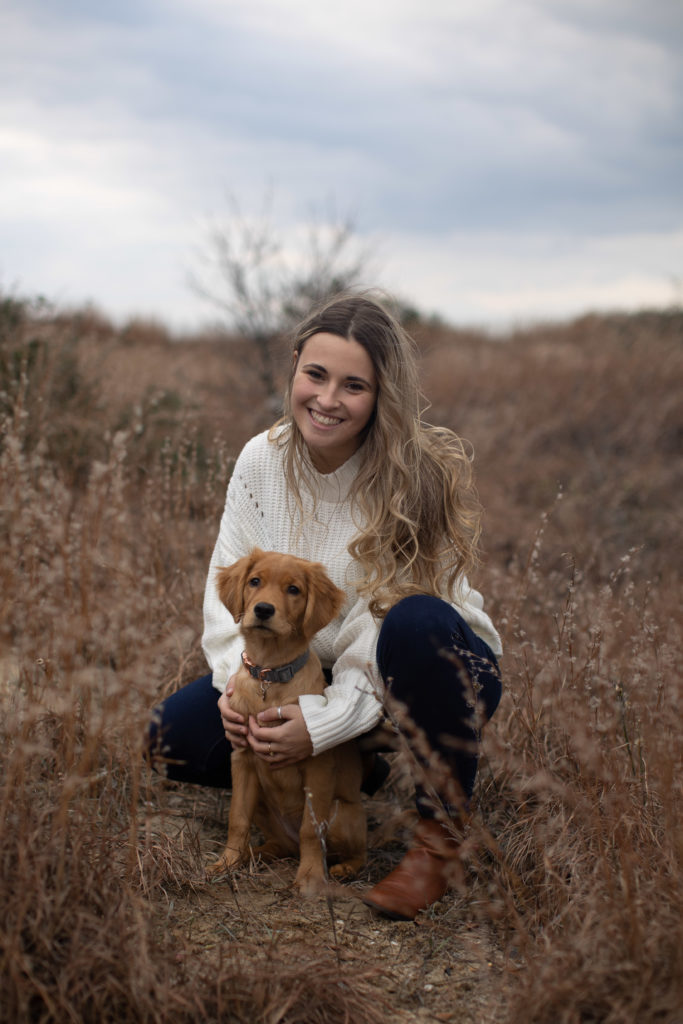
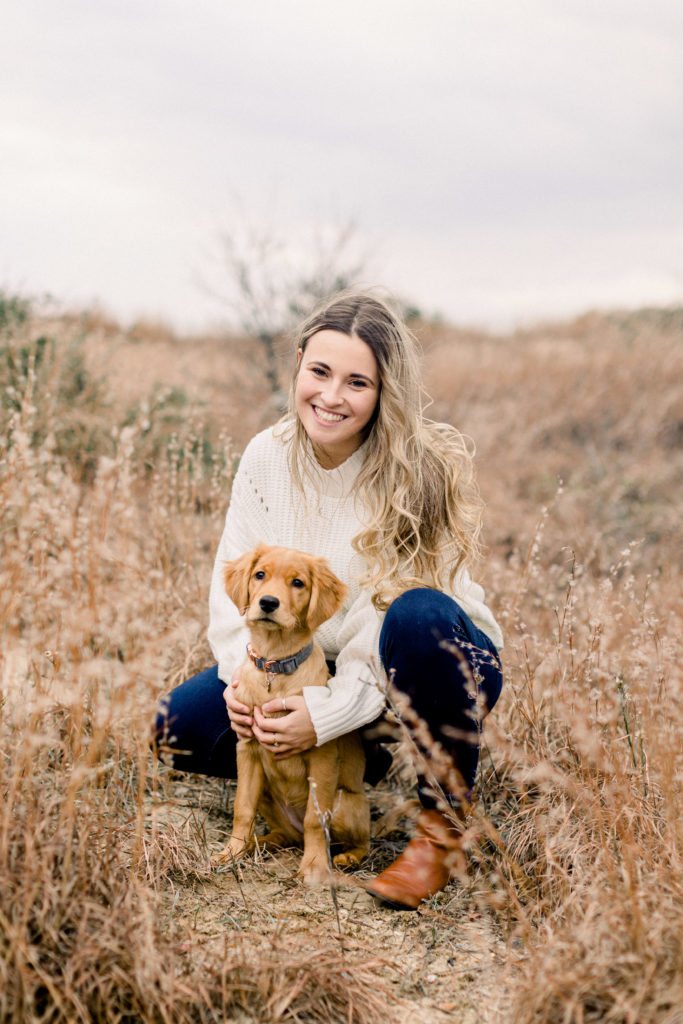
With my film inspired, light and airy preset, you can effortlessly have bold, bright, light and airy images! See a few before and afters here:


Step 1: Unzip the file
The first thing you will need to do is the folder of presets that you downloaded. You can easily do this on a computer. On a PC, just right-click on the zipped folder and choose “Extract All” from the menu of options. On a Mac, just double-click the file and Mac’s unzipping utility does the rest.
If you need to do this step on a iPhone or iPad, just tap on the zipped file and it will unzip. If you need to do this on an Android phone, you will need to download the Files by Google or WinZip app (Android app) to your phone.
Step 2: Save the preset
If you unzipped the presets on your computer, you will need to save the preset files to your favorite cloud storage option, so you can access them on your mobile phone. You will also need to be able to allow access to those files on your phone through that same cloud storage app.
If you unzipped the preset download on your phone, you can skip this step. Make sure you know where the unzipped files are located on your phone or device.
Step 3: Open the Lightroom Mobile CC App
This step is super simple. Pictures to follow for what is next!
Step 4: Add the DNG preset file to Lightroom
To add a preset, click on the (…) Settings option in the top-right corner of the app.
Choose the Add Photos option.
On the next screen, choose the location you will be pulling your DNG/Preset files from. If you have saved them to your phone, choose “From Camera Roll”. If you have saved them to a cloud storage option, choose “From Files”.


Step 5: Create Lightroom Preset from the DNG file
Click the preset image. You will know it is the correct image because it will look like this and say “DNG” on it. Excuse all the pictures of my cat and my low battery.
Now, scroll all the way to bottom right where it says “Preset” and click on the icon. From there you will select “Create Preset.”

Expand the “Tools” menu and deselect “crop” so that it does not crop your images.

Step 6: Use your new light and airy preset inspired by film!
And then you’re done! Once you purchase the preset, you will receive a PDF of instructions that list these steps as well as how to install the preset on your desktop! I hope you enjoy it as much as I do.
filed under
January 23, 2021
POSTED ON


