

Even if you are just starting out in photography, it won’t take you long to learn that things take time. And your time is precious. More than that, it is important that you have the proper tools and software so that your time is used effectively. I’m ready to share with you four software tools for photographers to streamline your workflows. If you find it helpful, please leave a comment below! Let’s get your time back. And let’s do things right.
1. Lightroom
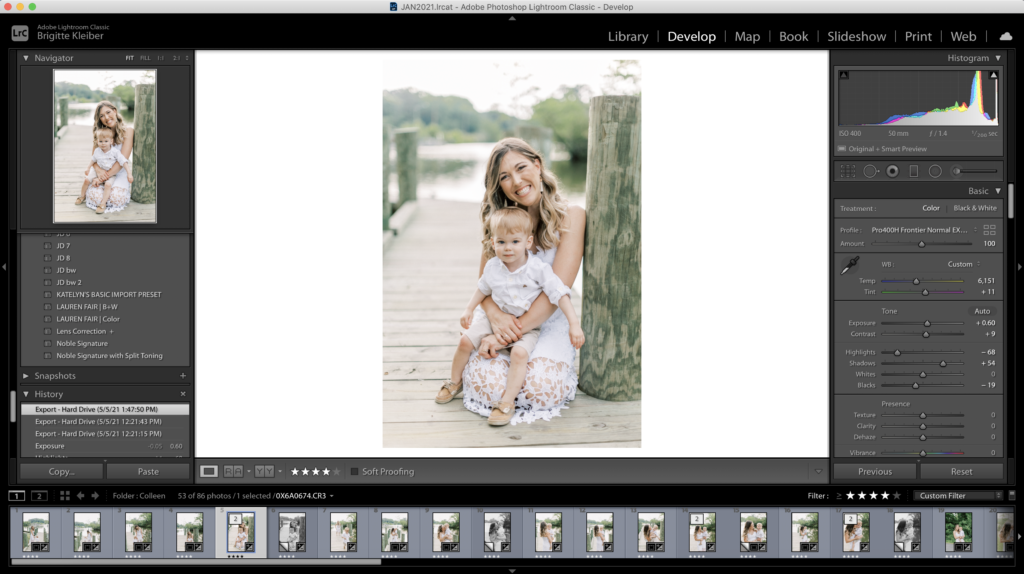
If you are starting out in photography and looking for tips of where exactly to start, you’re in the right place. Lightroom is the software you will definitely want to edit your images. Under the “Develop” tab, your presets and edits will be on the left, and your editing tools will be on the right. Lightroom will allow you to make edits to the image without decreasing or altering the quality. It will also give you export options to ensure you are exporting at the highest quality.
You can learn more about Lightroom in my other blog post here!
2. Photo Mechanic
I love to cull my images in Photo Mechanic for a few reasons. To be perfectly honest, it took me a little while before I adopted this. Specifically, it took me hours and hours trying to cull in Lightroom to realize I needed it. Let’s gauge if it’s something you need by talking about their differences.
If you cull in Lightroom, it looks something like uploading all the photos from a wedding or session. I am an over shooter. I am not proud of it, but I’ve come back from engagement sessions lasting an hour and a half with over 1,000 images taken! That would be a LOT of work to do in Lightroom. Why?
How I cull in Lightroom
- Wait for all of the images to upload
That means wait for 1,000 images rather than the 150 I intend to deliver
- Wait for each image to load as I click through to see if people are blinking, in focus, etc.
Something we don’t really think about is the load time of each image. Lightroom is loading the actual image from your hard drive, or wherever it is stored, and it takes a few seconds!
- Click delete, then “yes I’m sure”, and wait for it to delete
Forget the time to think about if someone is blinking. Can you imagine how long it takes to do just this step alone with the 700 or more images I want to delete? Short answer: a long time. There is a better way
Now let’s talk about how this process looks different in Photo Mechanic.
Culling in Photo Mechanic
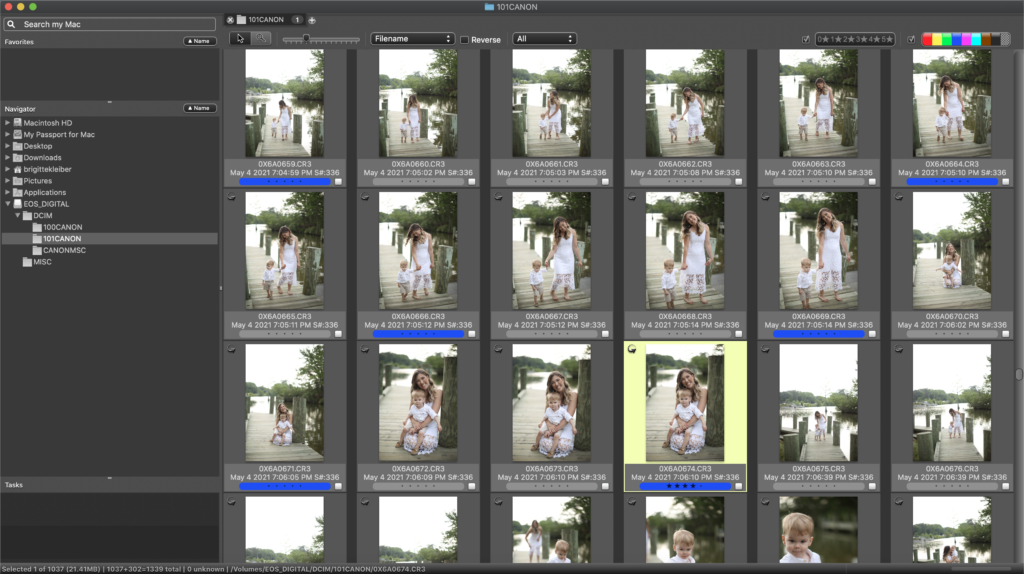
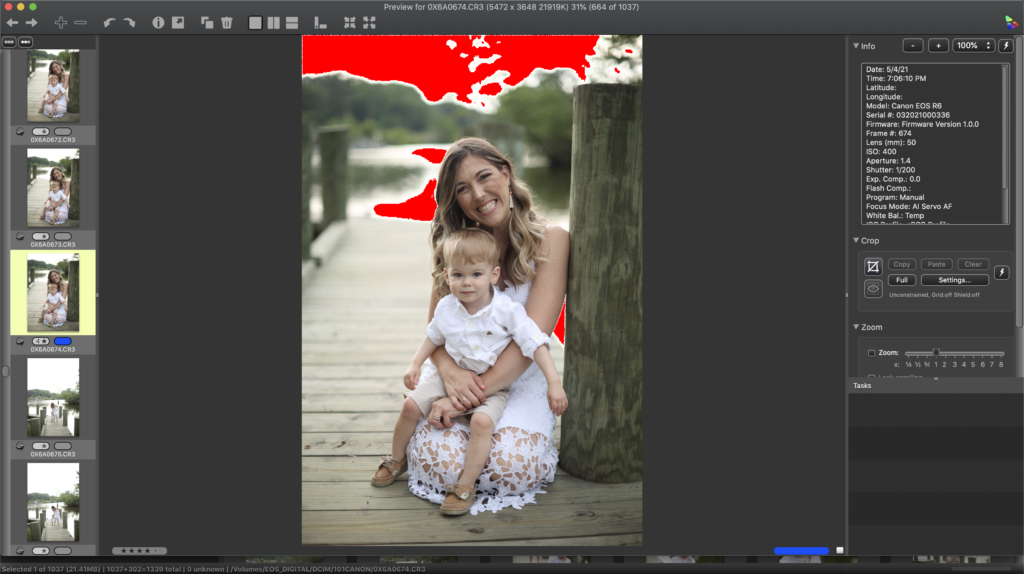
How I cull in Photo Mechanic
- Don’t wait for any images to upload because you can “preview” images using Photo Mechanic
Because you are previewing images, you can click through much more quickly to see if images are out of focus, duplicated, they are blinking, etc. Then you only select the ones you want to keep. No waiting!
- Select only the images you intend to keep
- Upload only the images you want to deliver to Lightroom
Upload those images to Lightroom. This means you only wait a fraction of the time!
The process of culling in Photo Mechanic literally saves me HOURS.
3. Tiny JPG
Once you have images you are proud of, it’s time to put them on your website. This software tool is definitely less obvious. I love to use Tiny JPG because it compresses the file size. Why is that important? The larger your image file, the longer it takes to load. You may have great images, but you can’t count on everyone waiting for your images to load. Tiny JPG allows you to compress the file size without compromising the quality. I put all of my website and blog images through Tiny JPG to help my website run faster. It’s also super affordable at only $25/year! Alternatively, you can use the free version. It only lets you upload 20 images at a time in the free version, but it’s a great way to get an idea of how it works.

4. Unfold, Preview, PicCollage, Etc.
These are apps that allow you to see what your Instagram grid will look like before you post! Both apps let you plan posts, and save options for hashtags. If you want to save time on social media but also ensure you have a noteworthy Instagram grid, these apps are the way to do. Both have free versions, but in my opinion, they are affordable and worth paying for the full versions.

I hope you find these software tools for photographers helpful to use and streamline your workflows and showcase your images! If you want to learn more tips, leave me a note in the comments!
filed under
May 5, 2021
POSTED ON


