
The beautiful journey ahead
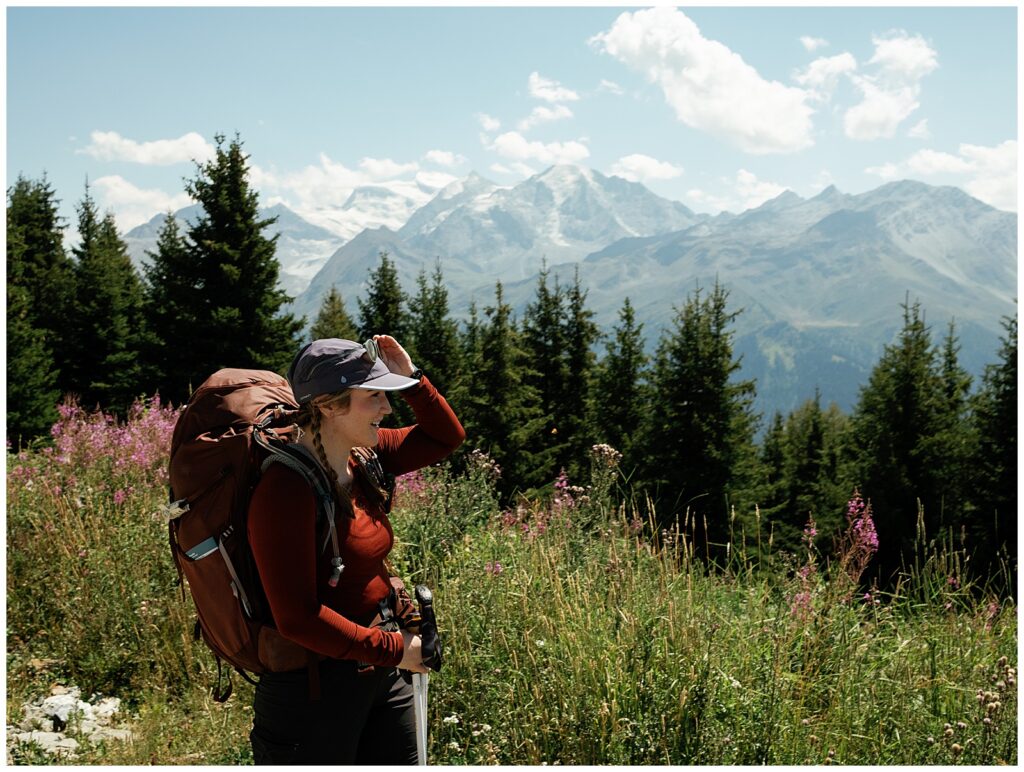
Trekking the Haute route was one of the most magical experiences of my life. My hiking experience prior included day hikes around the world from Mendoza to North Carolina averaging 2 to 5 hours, 14ers in Colorado, and a 75 mile portion of the Tour du Mont Blonc (which is ultimately what prompted this trip). I’ll leave it up to you the level of experience as a hiker that makes me.
This trek was not what I thought it would be, and I didn’t think I had expectations at the time. It was steeper, more exposed, and more technical than anything I had done up to this point. It was also more rewarding and less traveled. If you want to know what it’s like, no words could do it justice, you’ll just have to do it yourself. Scroll to the bottom for the packing list! Now the stats:
- Total climbed: 33,921ft
- Total descended: 33,478 ft
- Total distance: 96.33 miles

We started our journey in Verbier! We chose not to begin in Chamonix because we had completed the Tour du Mont Blanc the year before, and the first few days of the Haute Route follow many of the same trails before the two routes eventually split.
It can also be difficult to take an extended amount of time off work in the United States, so ten days felt like the perfect length for this trip.
Haute Route Day 1: Verbier to Mont Forte
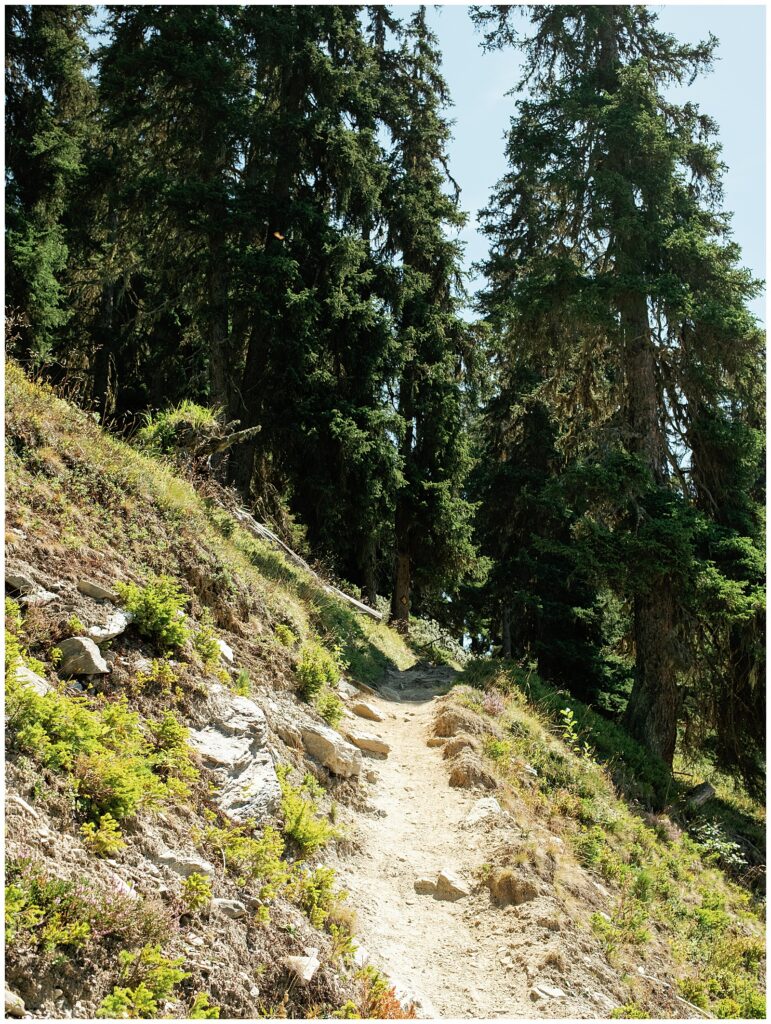
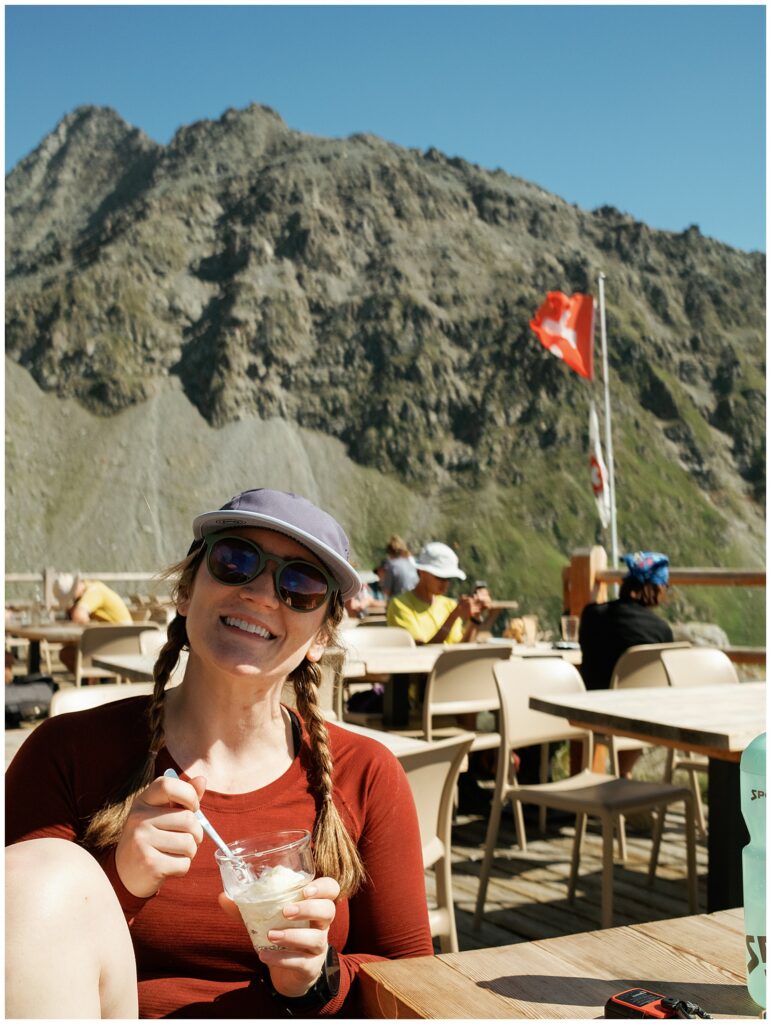
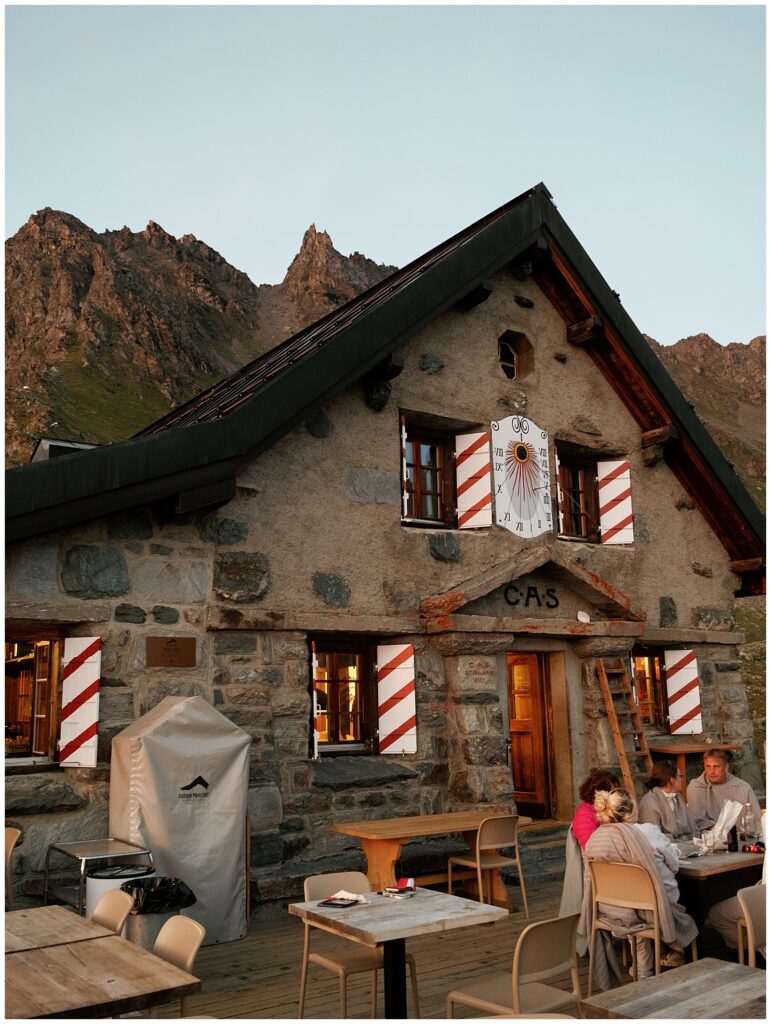
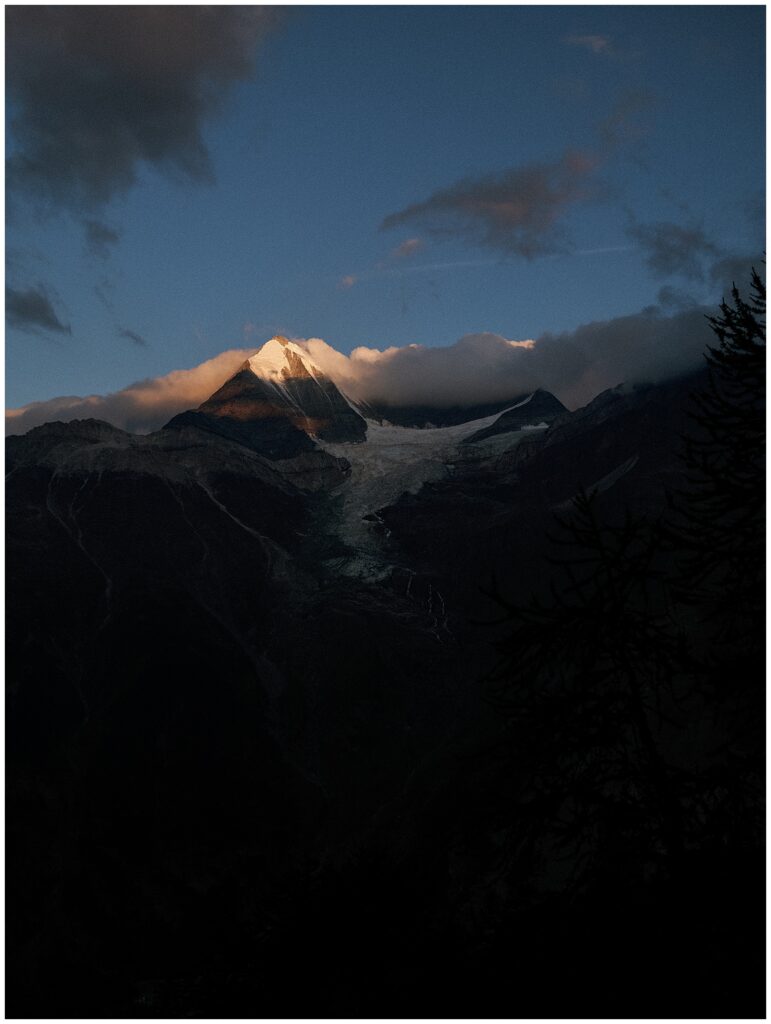
We started along the road but it wasn’t long until we had the most spectacular views of Verbier and the surrounding mountains. This was a great day to ease into the adventures ahead. We were greeted with the most beautiful sunset I have ever seen in my life (scroll to see). This path is well traveled with a lot of day hikers making their way out to the hut for lunch. It is a very beautifu, though very expensive hut. Enjoy!







Haute Route Day 2: Mont Fort to Prafluerie
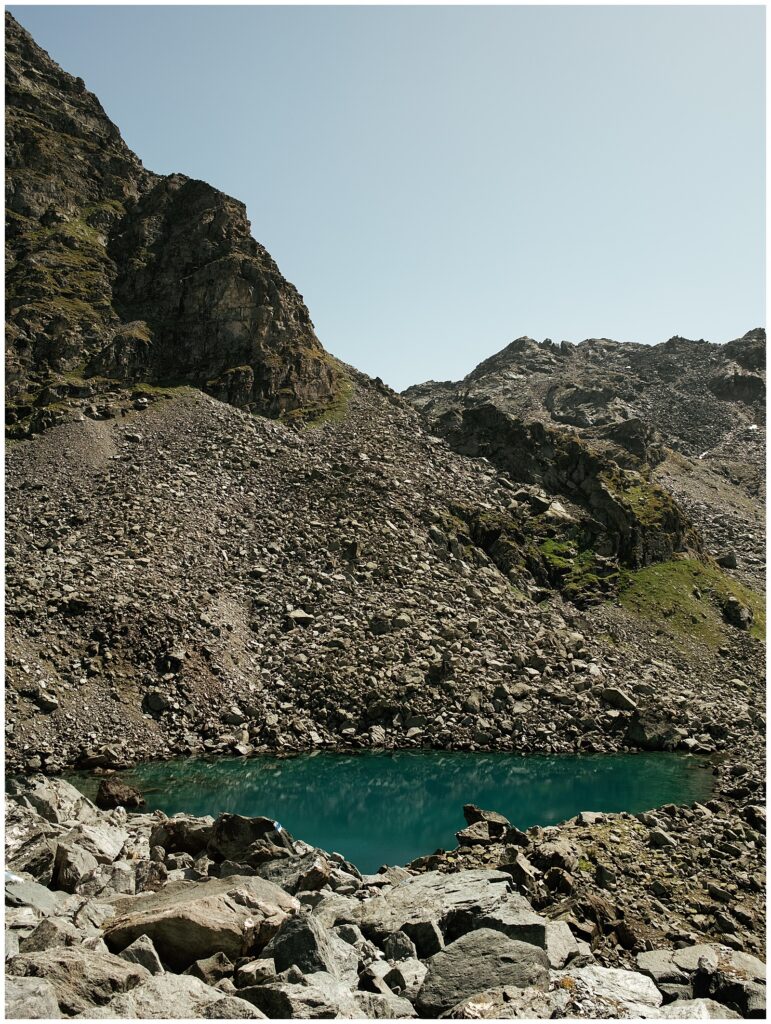
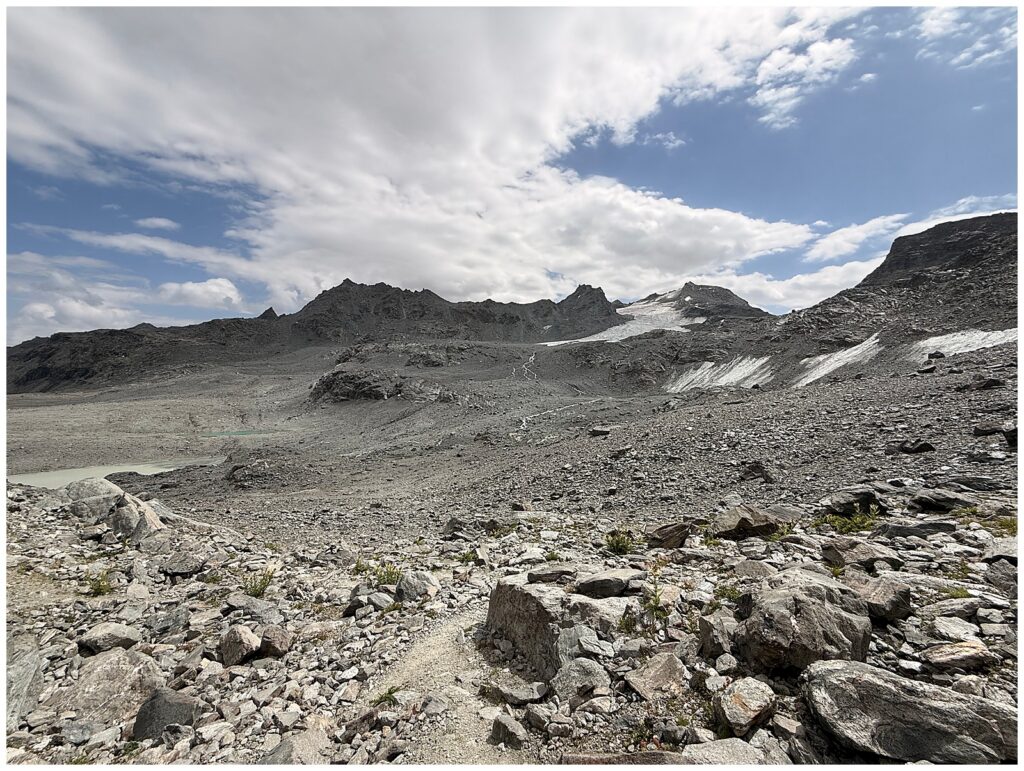
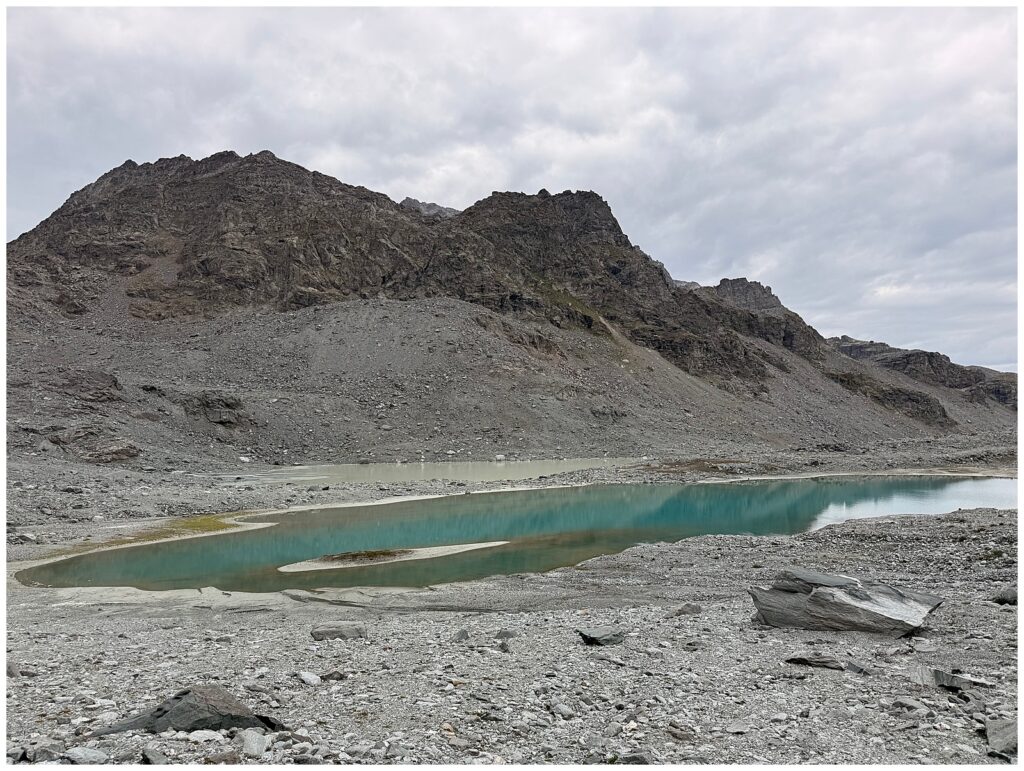
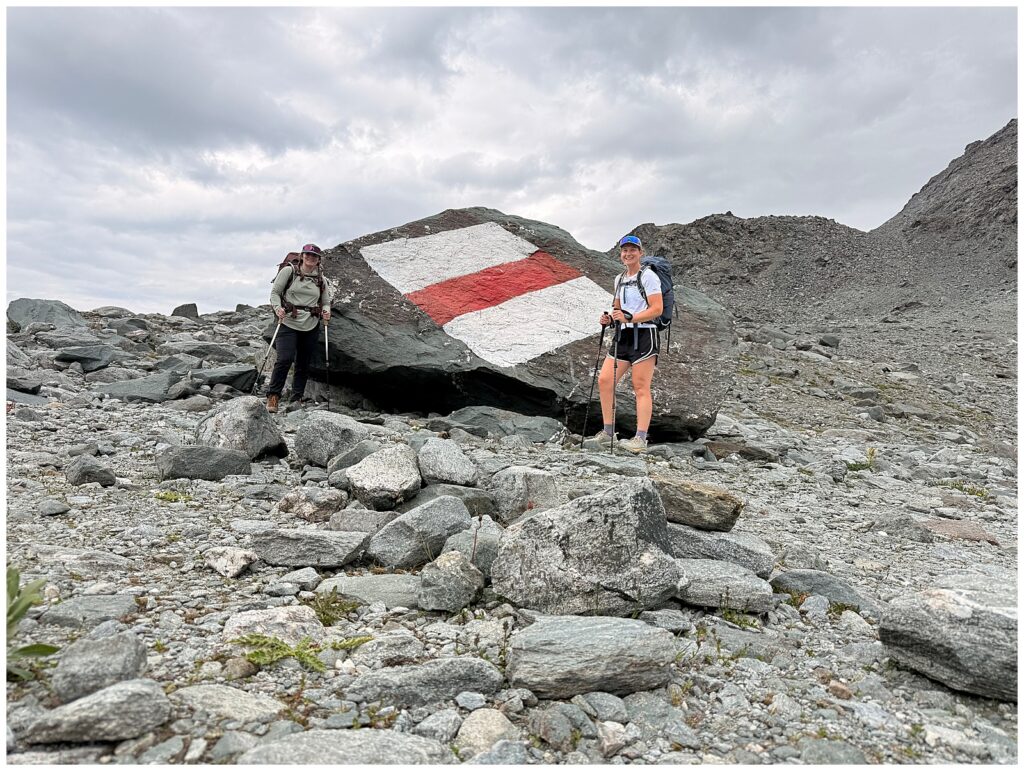
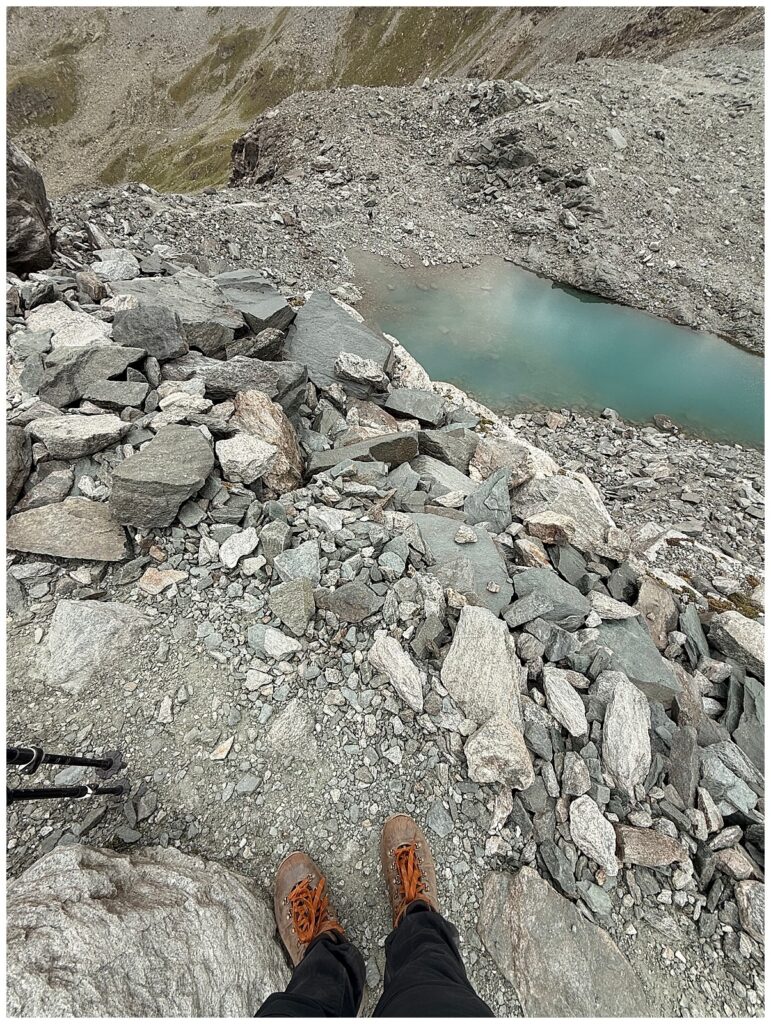
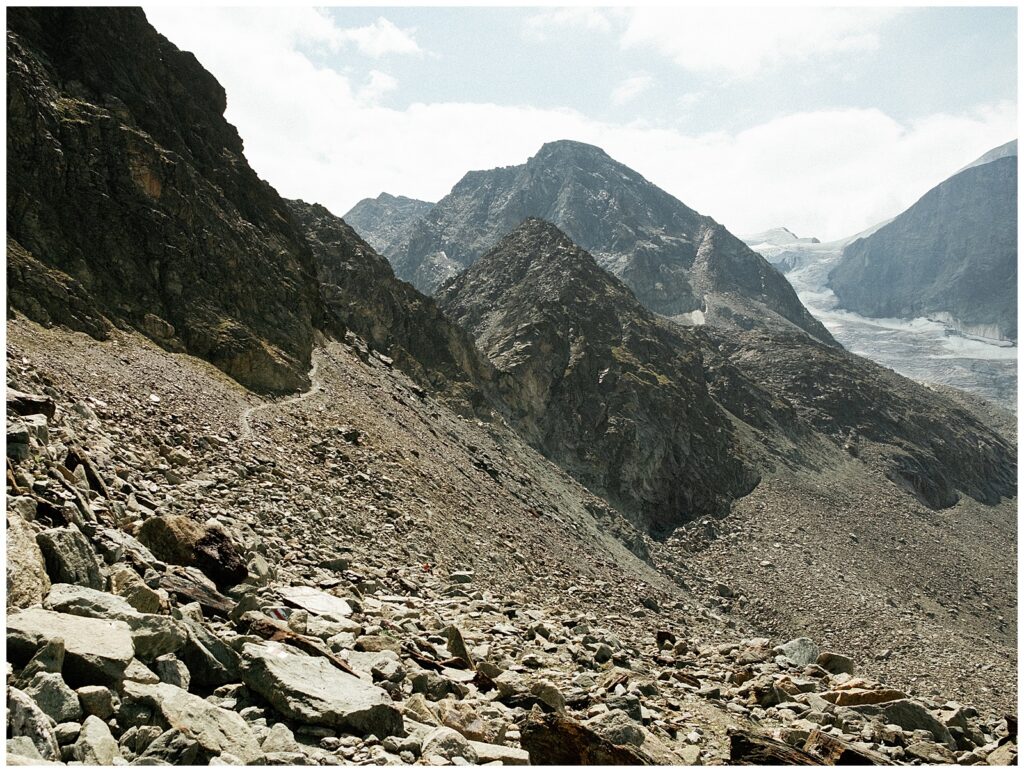
While this day was certainly not the longest in mileage along the Haute Route, this day felt very long and strenuous. There were three passes, and the trail was almost exclusively on rocks, scree, and boulders. The pace was slow and the route was difficult to find at times. We were blessed with pretty good weather throughout and some rain showers toward the end, but I imagine on a foggy day this would be quite dangerous. Wander off trail too far and you can find yourself on a glacier or cliff’s edge.

The image above is from my iPhone because my camera died after the first pass.
There are two main ways to complete this section. The first is the longer route: about 14 miles on a more traditional trail. It’s strenuous, but incredibly scenic. The second is the route we took—shorter in distance, but cutting across via an alpine pass.
Depending on your experience level, I would be cautious about recommending the alpine route. The rocky landscape of the pass had a rugged beauty unlike anything I had encountered before, but it was STEEP—both going up and coming down. Looking back, I still have mixed feelings about which route I would choose if I did it again.
If you have the time, I imagine the 14-mile route would be absolutely beautiful. Our shorter route was still 8+ miles and took us around 6–7 hours because of the scree, boulders, and technical terrain. I would expect the longer route to take somewhere around 8–10 hours depending on pace and conditions, so either way, I recommend an early start.
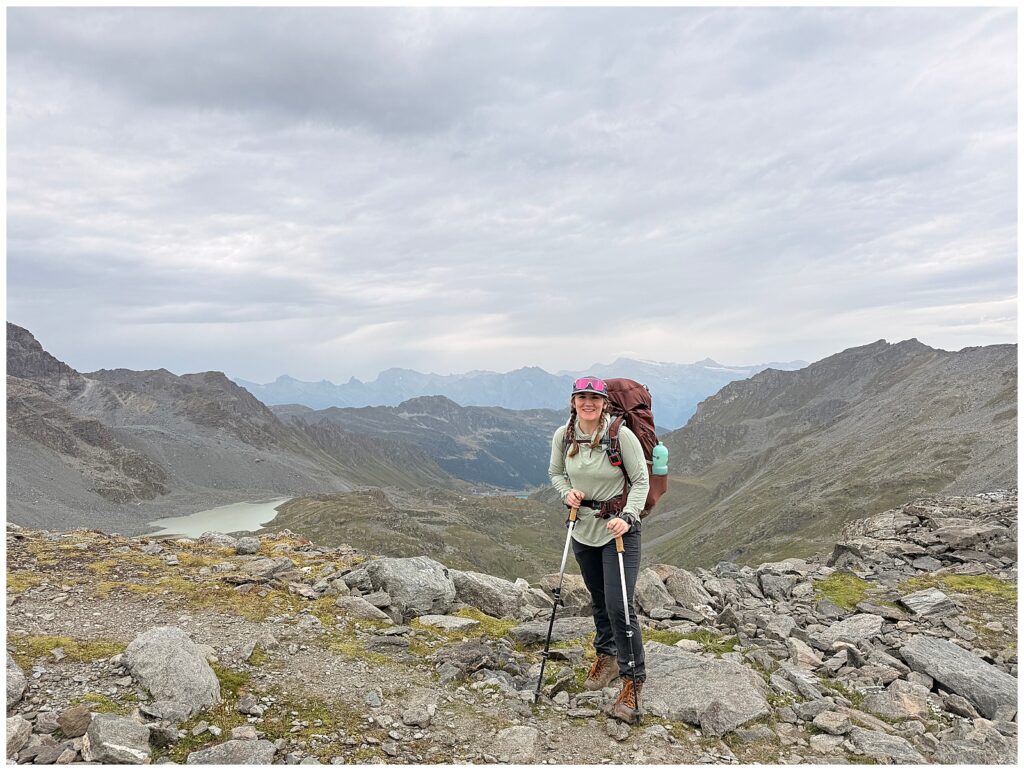
This was also one of those days that literally brought me to tears because it was so beautiful, so prepare yourself. Just kidding—you can’t. The way the mountains suddenly open up around you is breathtaking. What amazed me most was how dramatically the terrain changed from beginning to end, with new landscapes and surprises appearing throughout the day.
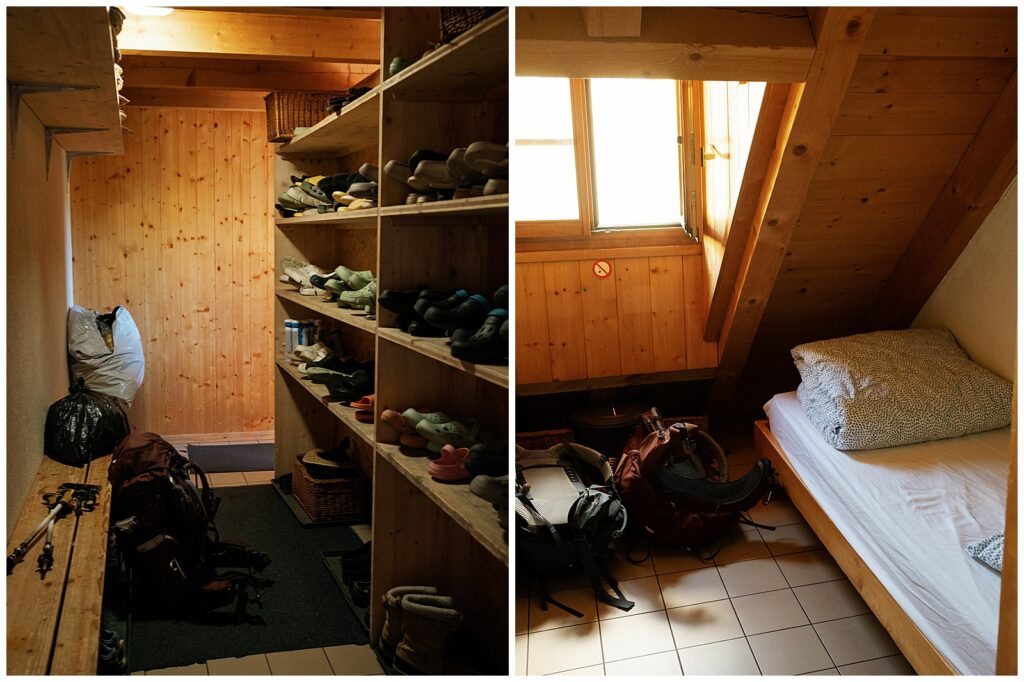
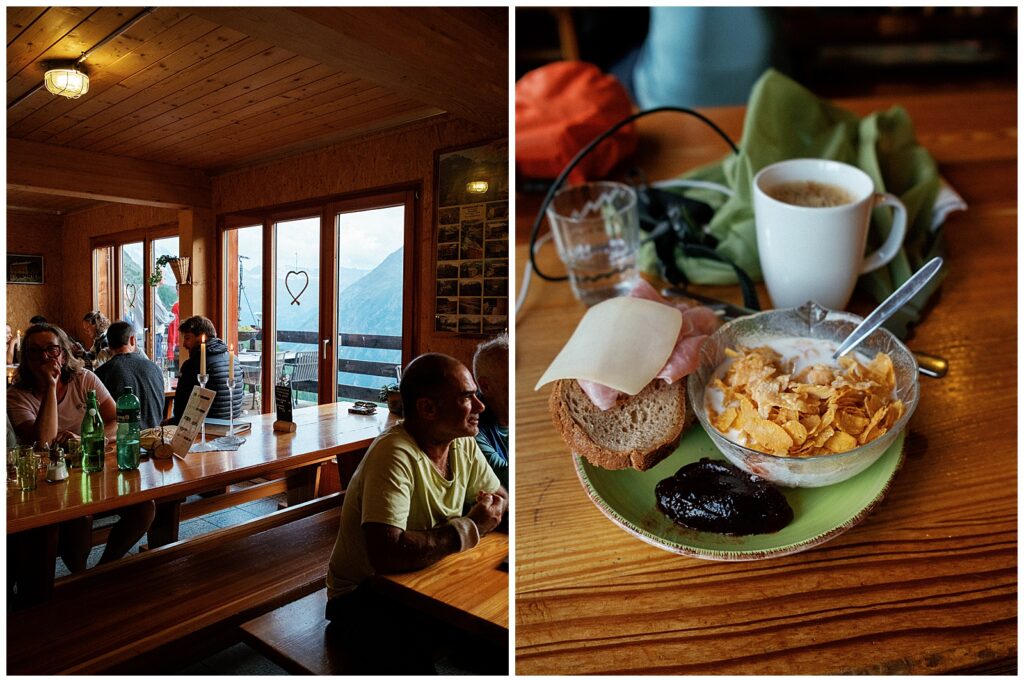
The hut that evening was particularly charming and wonderfully off-grid. There are two hours of wifi available, and then it’s otherwise shut off. Before the trip, I had read some less-than-glowing reviews, but my experience was quite different. I thought the people running the hut were especially kind, and the food was good.
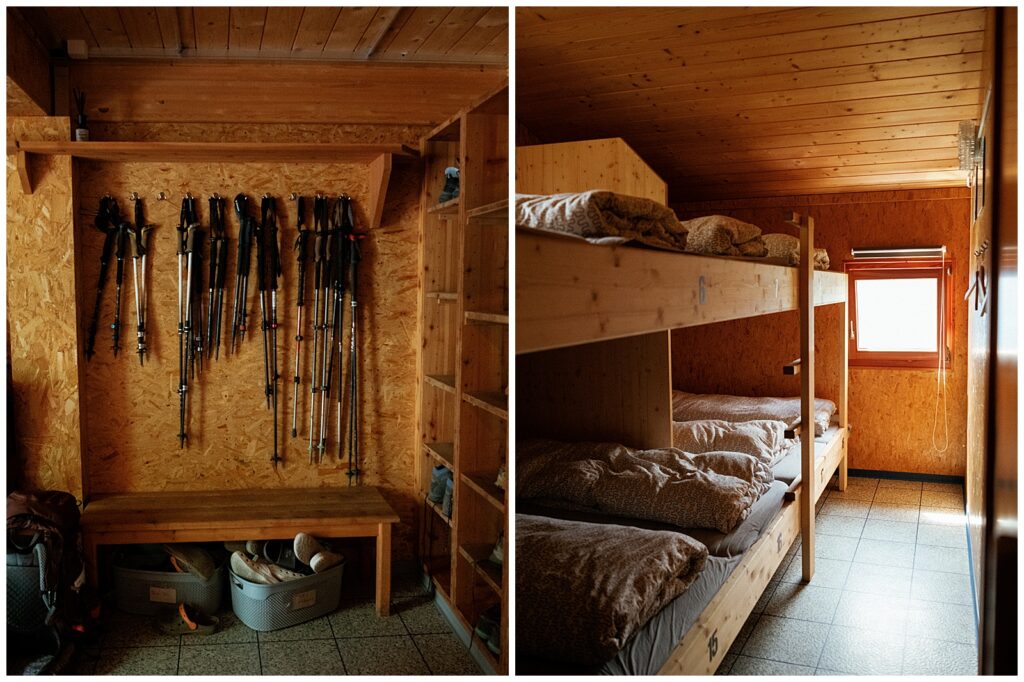
That said, this is definitely not a luxurious stay. The shower is a bit of a walk from the hut, there isn’t much privacy, and the water isn’t warm. I’d recommend getting a good shower the day or night before and embracing the rustic experience for what it is.






Haute Route Day 3: Praflueri to Arolla
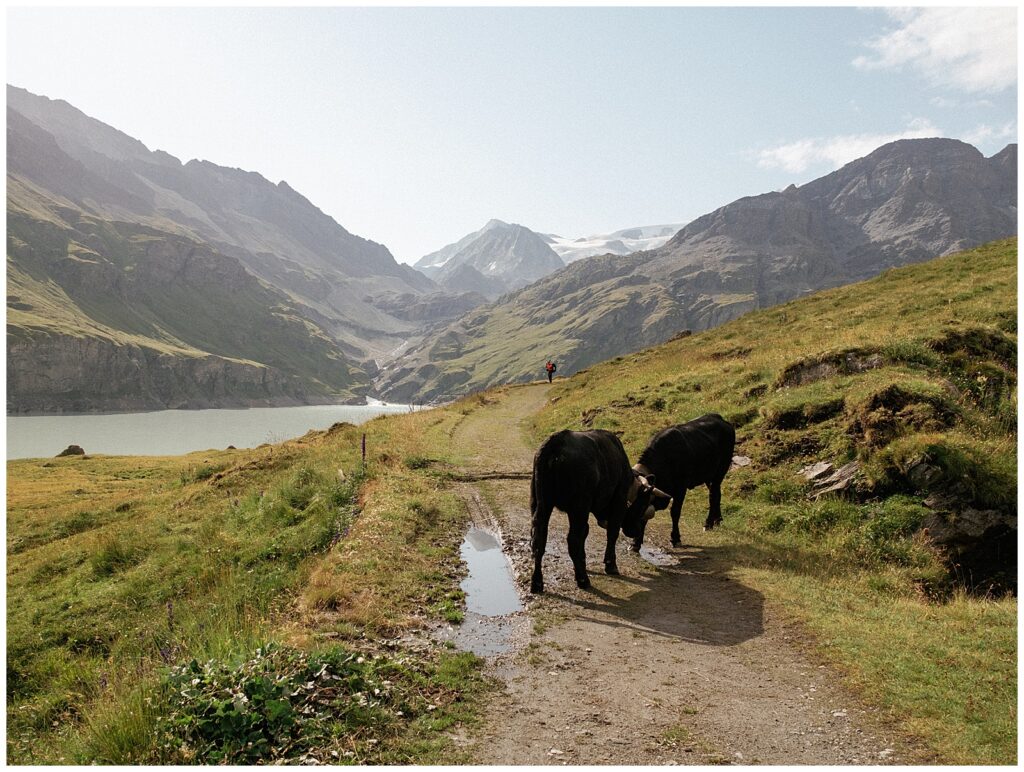
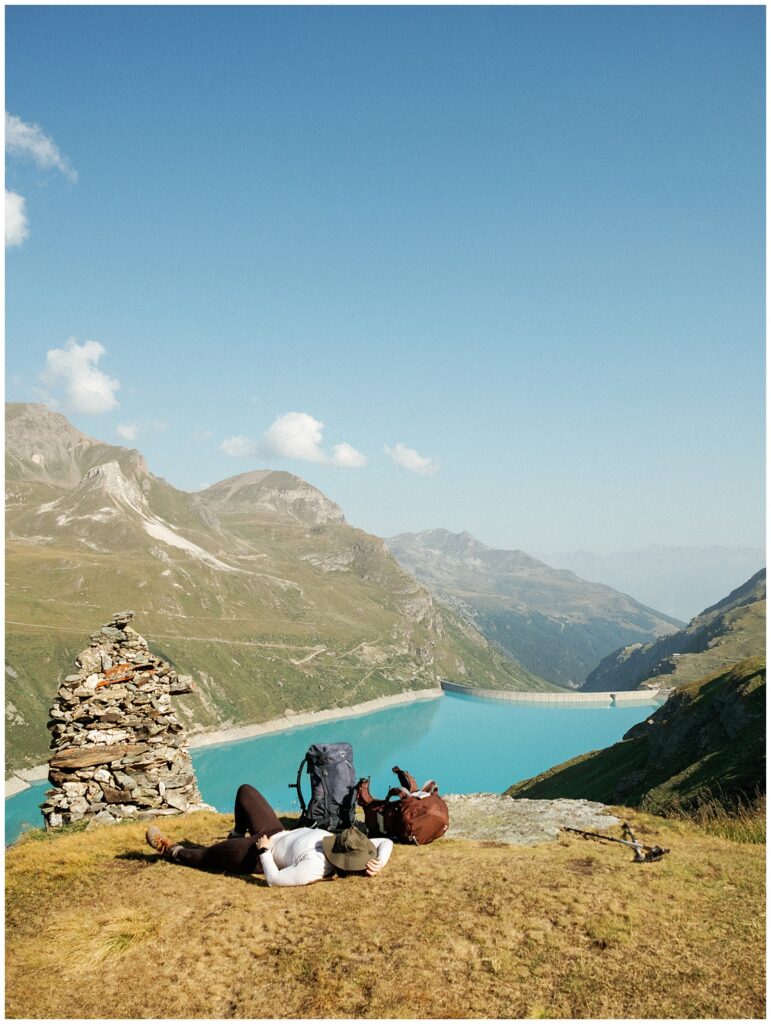
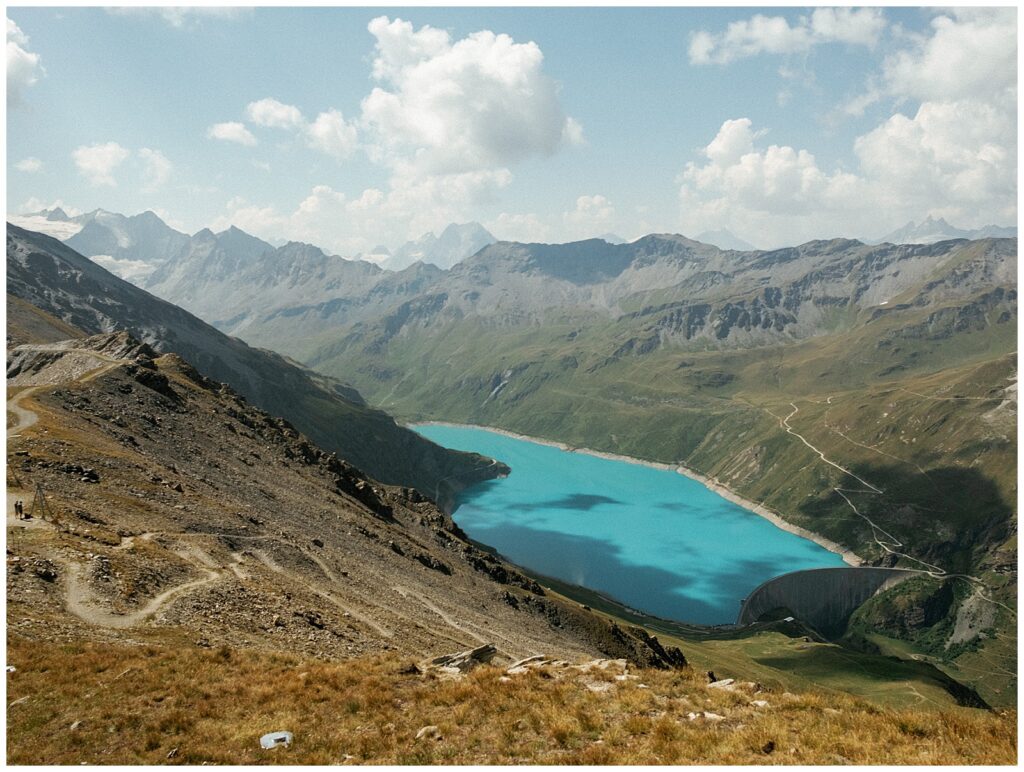
This day was incredibly scenic. It begins with a short climb over your first pass, followed by a beautiful walk along Lac des Dix. The views are stunning the entire way, and for a while, the day feels relatively easy.
Then, you begin the real ascent.
It starts off easily enough, but I was mentally unprepared for the Col de Riedmatten. Here’s the backstory: the Haute Route previously crossed a different pass on this day as an alternative to Col De Riedmatten, where a series of ladders and bridges helped hikers navigate an extremely steep section. However, the mountain around that route deteriorated, forcing its closure. Now, all hikers are routed over the Col de Riedmatten instead.
This is an alpine pass. The trail is narrow and covered in loose scree, with a short but extremely steep section where a slip would have serious consequences. I haven’t heard of people actually falling from this pass, but that didn’t make it feel any less intimidating to me in the moment.
It scared me. A lot.
This was actually the first point on the Haute Route where I questioned whether this trek was for me. But we made it over the pass and continued on, deciding that if we encountered anything that made us feel that level of fear again, we would turn around and get a transfer if necessary. Thankfully, we never did.
The hotel in Arolla was truly lovely and felt extravagant compared to Prafluerie.




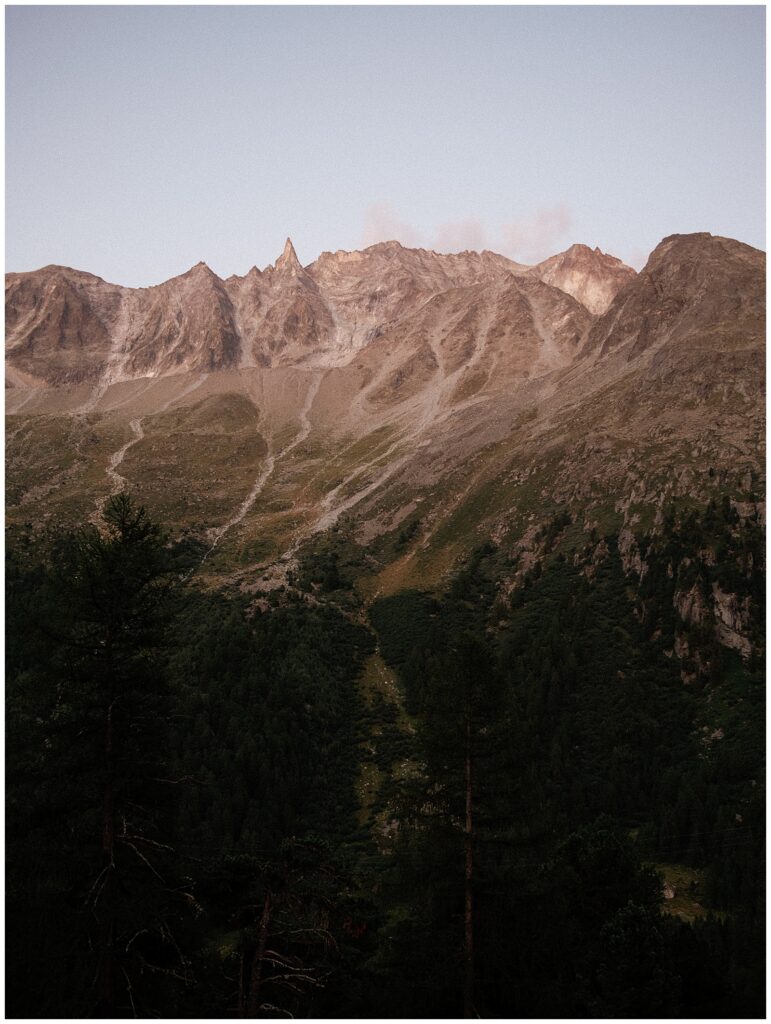


Haute Route Day 4: Arolla to Les Hauderes
This was a beautiful recovery day with the best macroni and raclette cheese of my life. I ate every bit of it. The scenic Lac Blue is also on this day for some fun photos. Les Hauderes is a backup destination if the next town is full (and for us, it was), which does make the following day a bit longer with more elevation again, and it is already a big day. It is also barely a town. BUT there is an incredible pizza place here (not pictured), so be sure to look it up and arrive early as it gets crowded as one of the only restaurants in town.


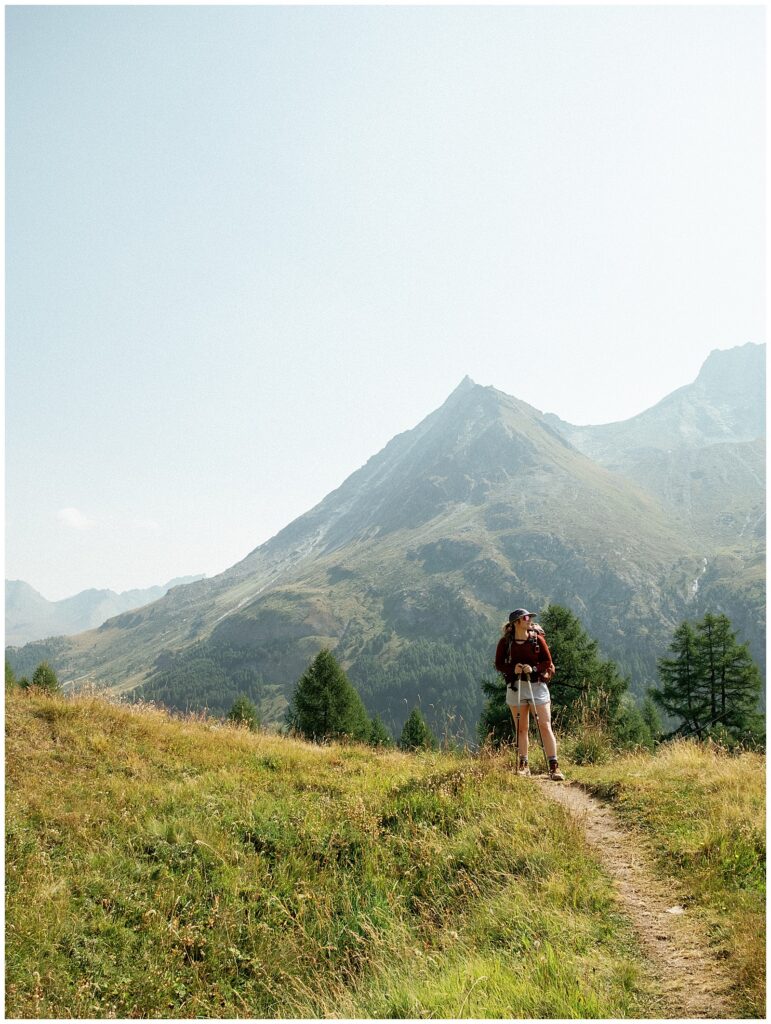


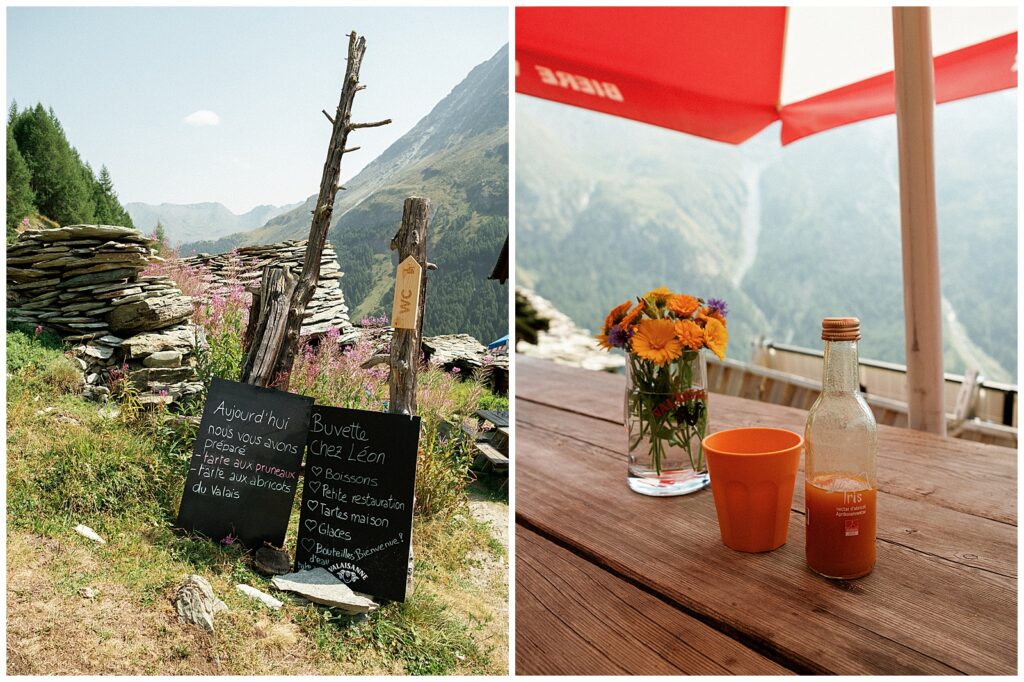


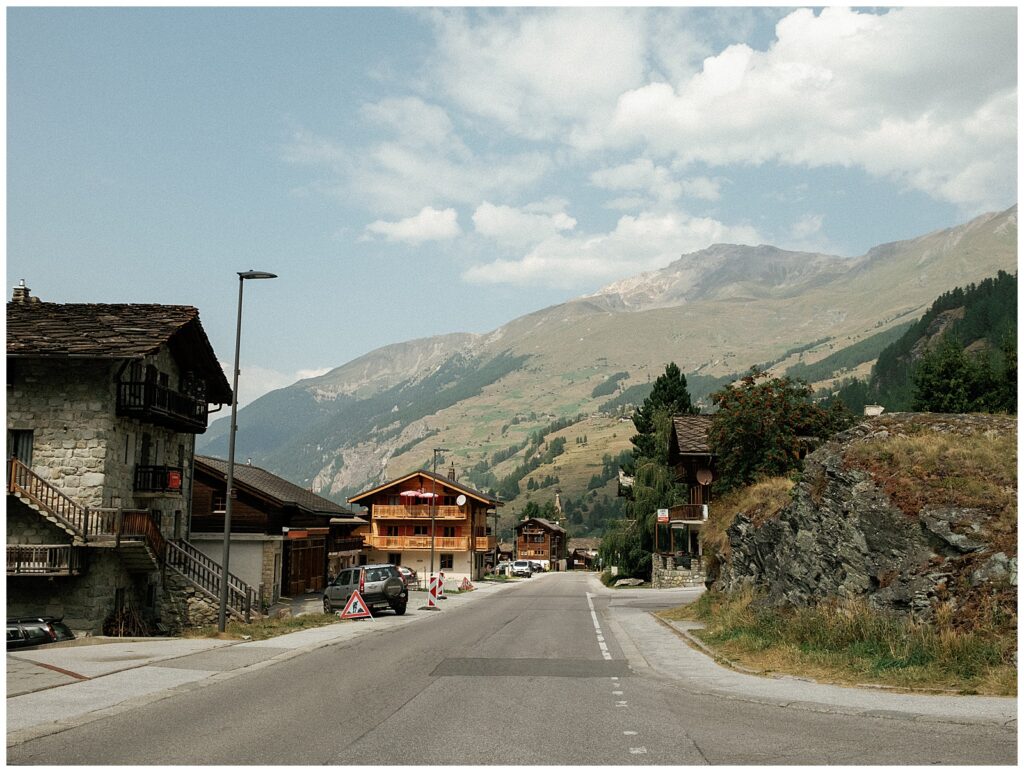
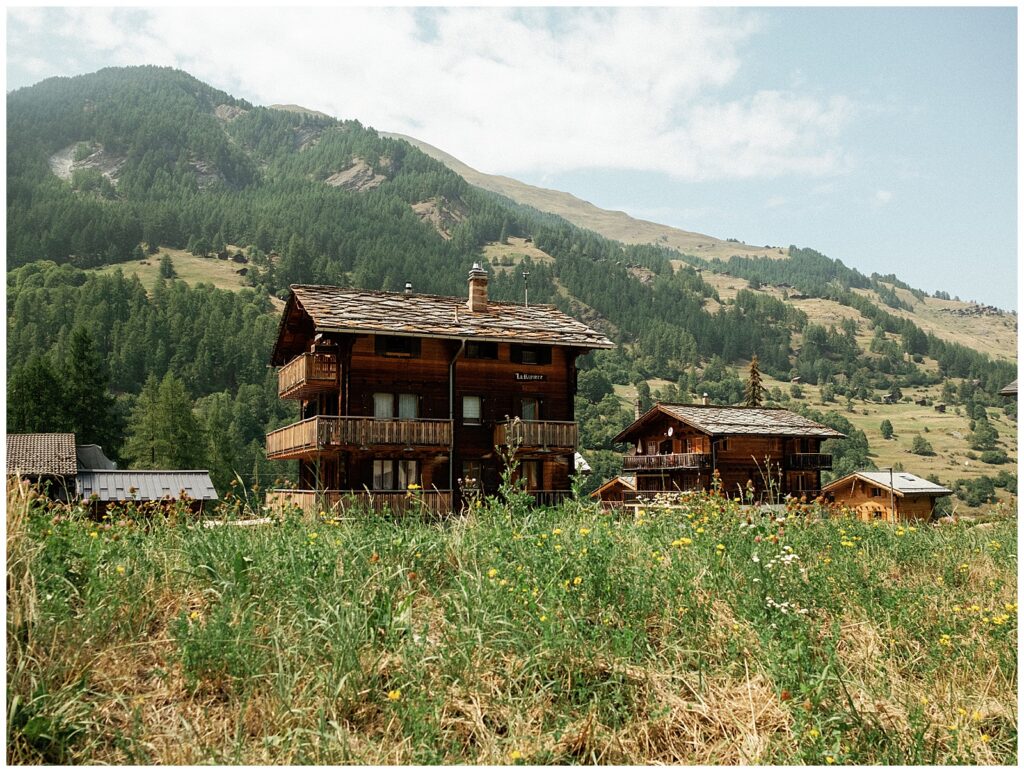


Haute Route Day 5: Les Hauderes to Cabane de Moiry
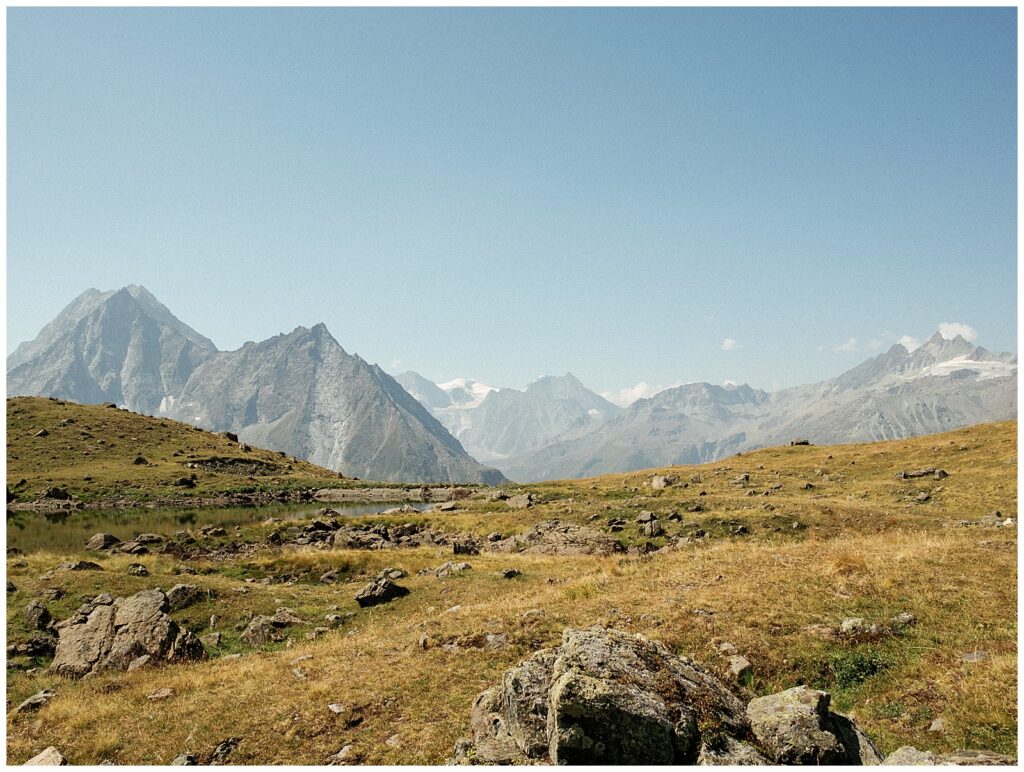
One of my favorite things about the Haute Route is that the long days are SO rewarding, and this day was no exception. At nearly 15 kilometers with 2,000 meters of ascent, it was a big day—but absolutely worth it.
I think of this day in three segments. The first is the long uphill climb to your first pass. From there, you have a lengthy stretch before reaching the start of your second major climb. And then comes the final segment: the climb up to Cabane de Moiry.
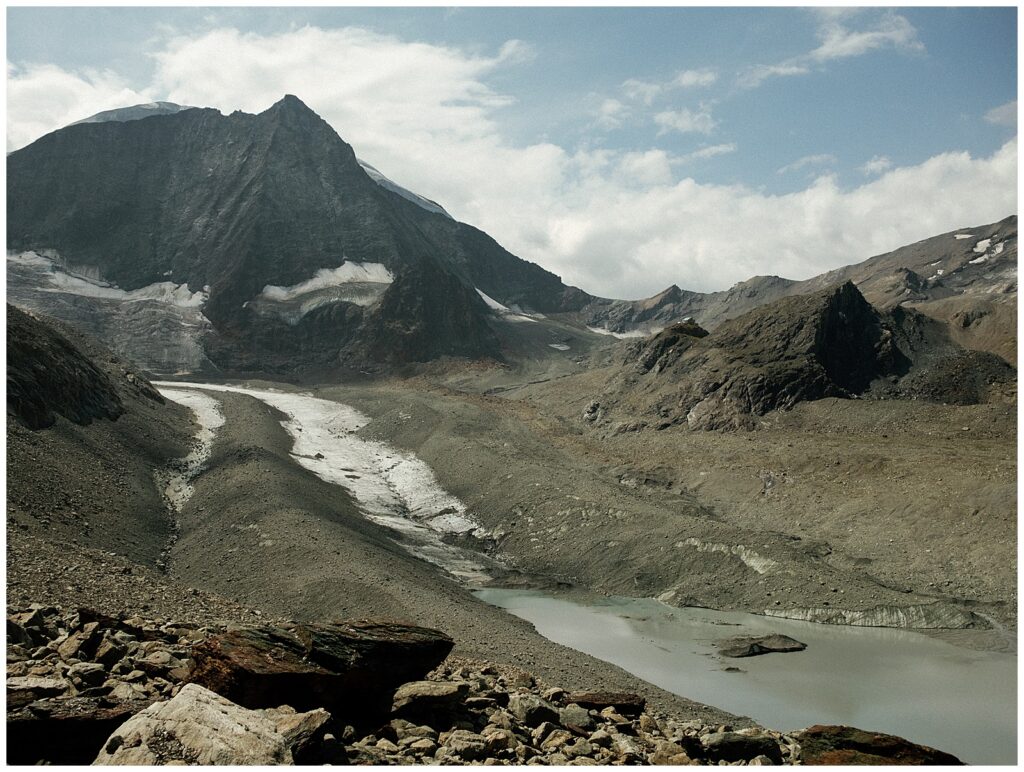
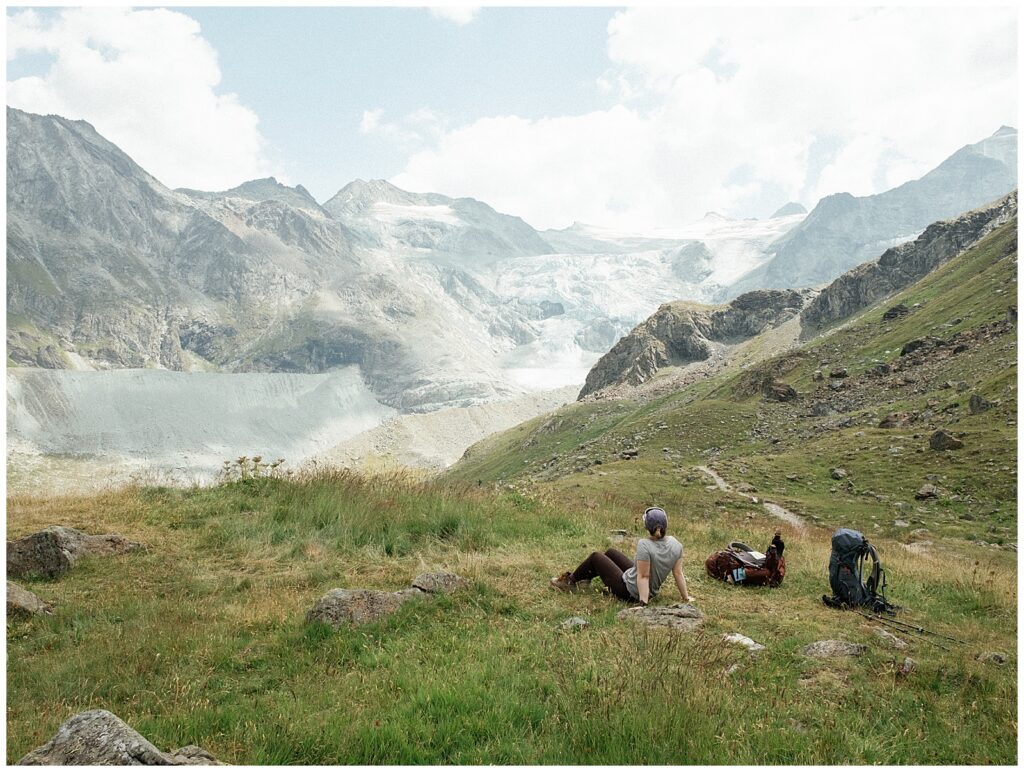
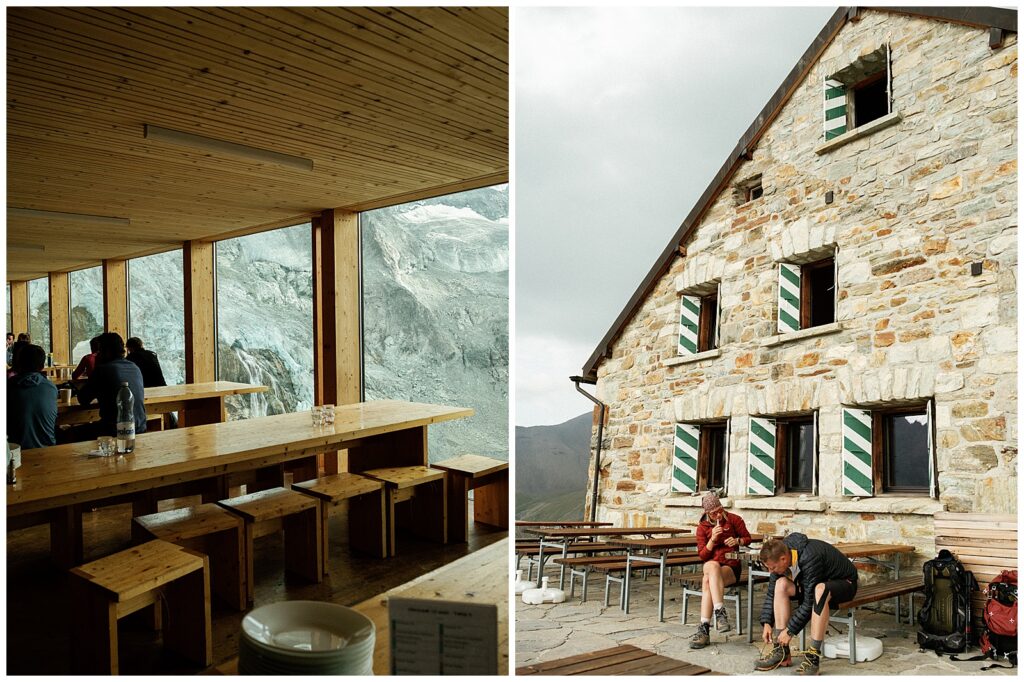
It is completely worth staying at Cabane de Moiry. Perched at nearly 10,000 feet beside the Moiry Glacier, it feels like you’re staying on top of the world. I genuinely don’t know if I’ll ever stay somewhere quite like it again.
One practical note: there are only two showers for women, so the wait can get long. If you can survive a night without showering, this might be one of the nights to skip it! Also, you can purchase a lunch here, or you can stop after you hike over the pass before Zinal and there is a restaurant by the gondolas with a beautiful view. If you opt for the second option, make sure you have snacks. But let’s be real: always make sure you have snacks.



Haute Route Day 6: Cabane de Moiry to Zinal
Day 6! I remember feeling like the end was both near and far. This day has a lot of decline, but don’t let that fool you. The pass to get to Zinal was still legit. I wasn’t properly hydrated on this morning, and I ran out of water just before the top. It wasn’t an emergency because there is a restaurant just down the way, but it broke something in me mentally. This was a low point of the trip. Though, Zinal did have some better dinner options and deli where we go our lunches before embarking on Day 7.




Haute Route Day 7: Zinal to Gruben
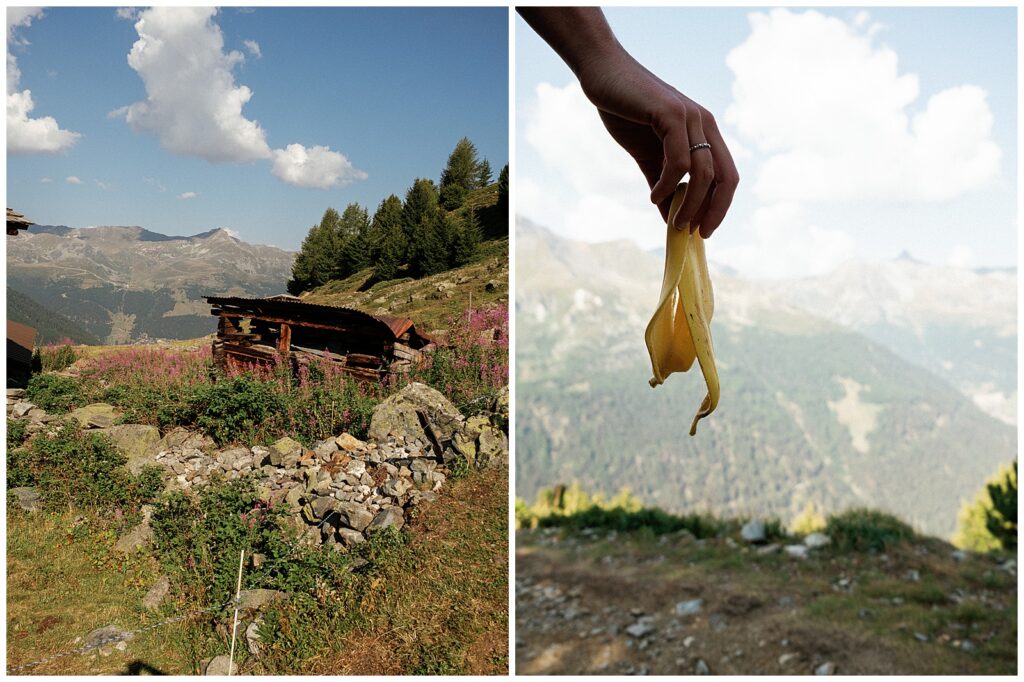
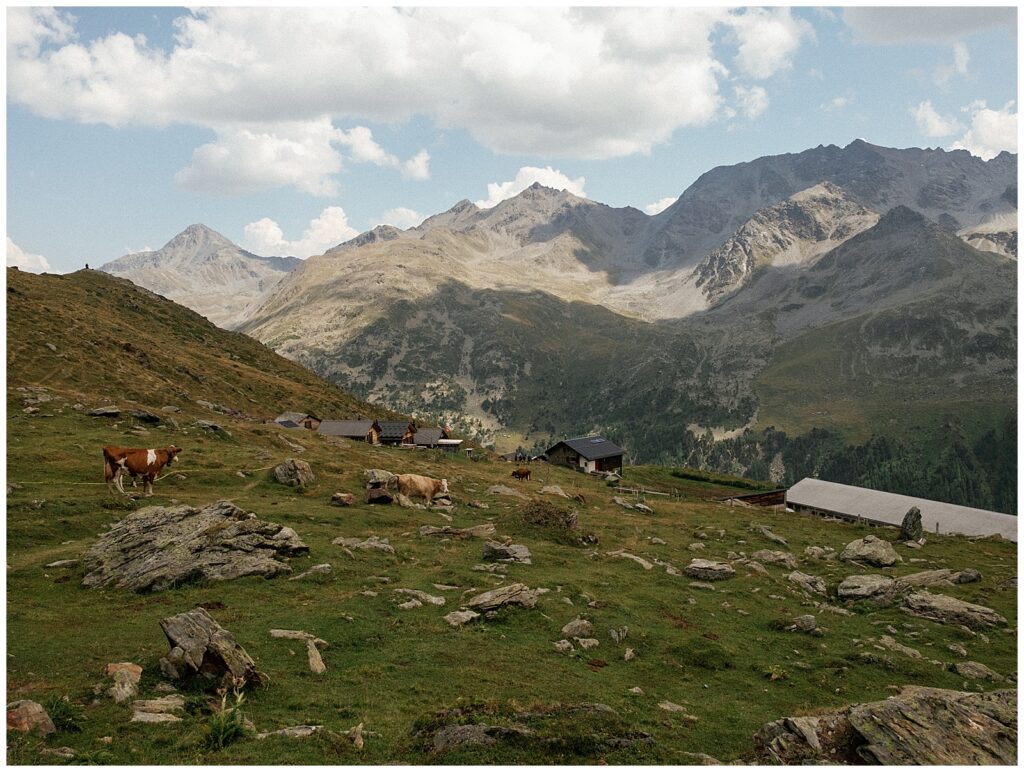
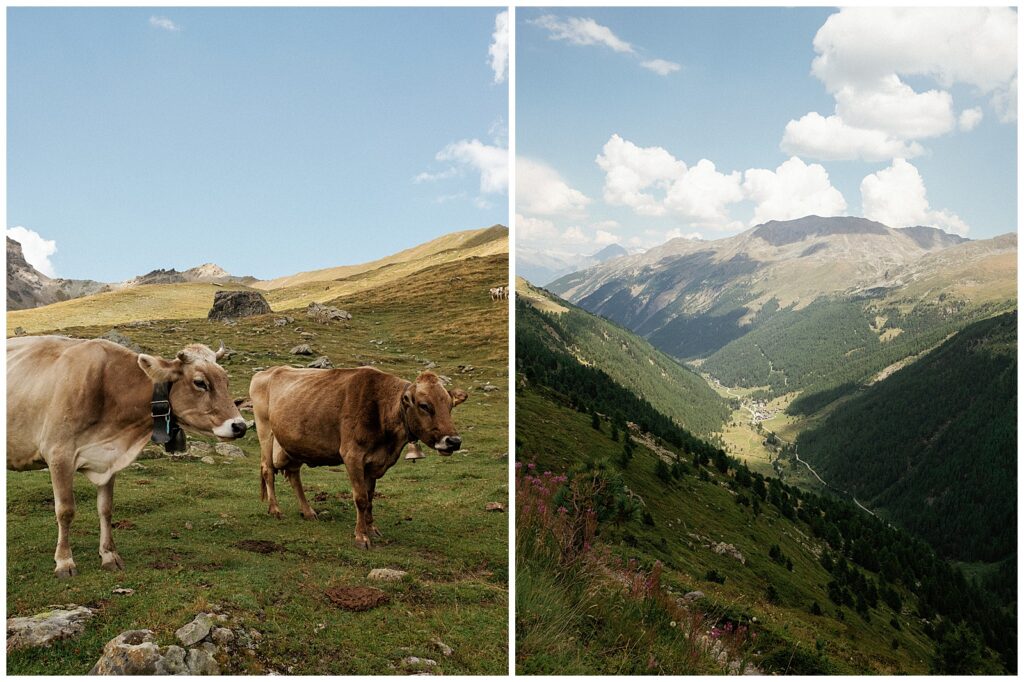
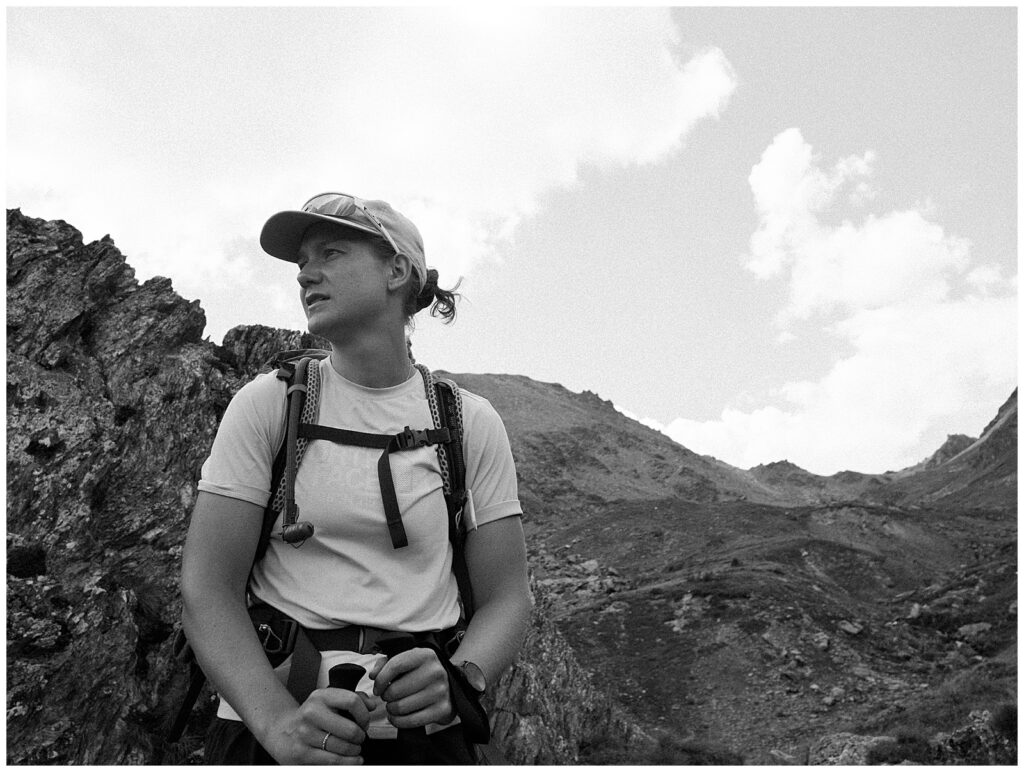
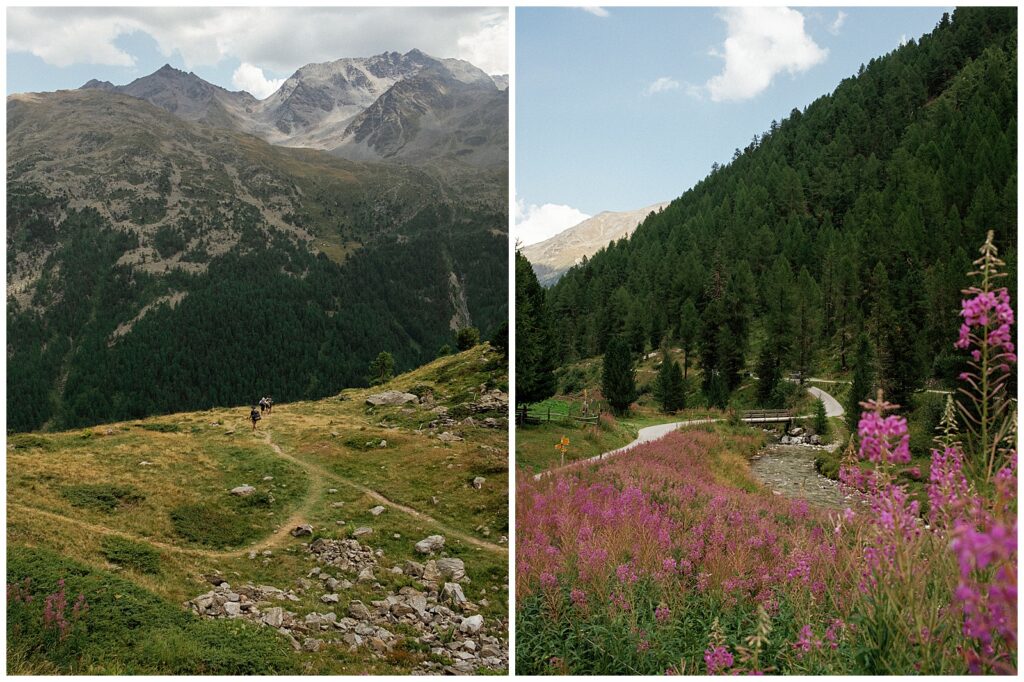
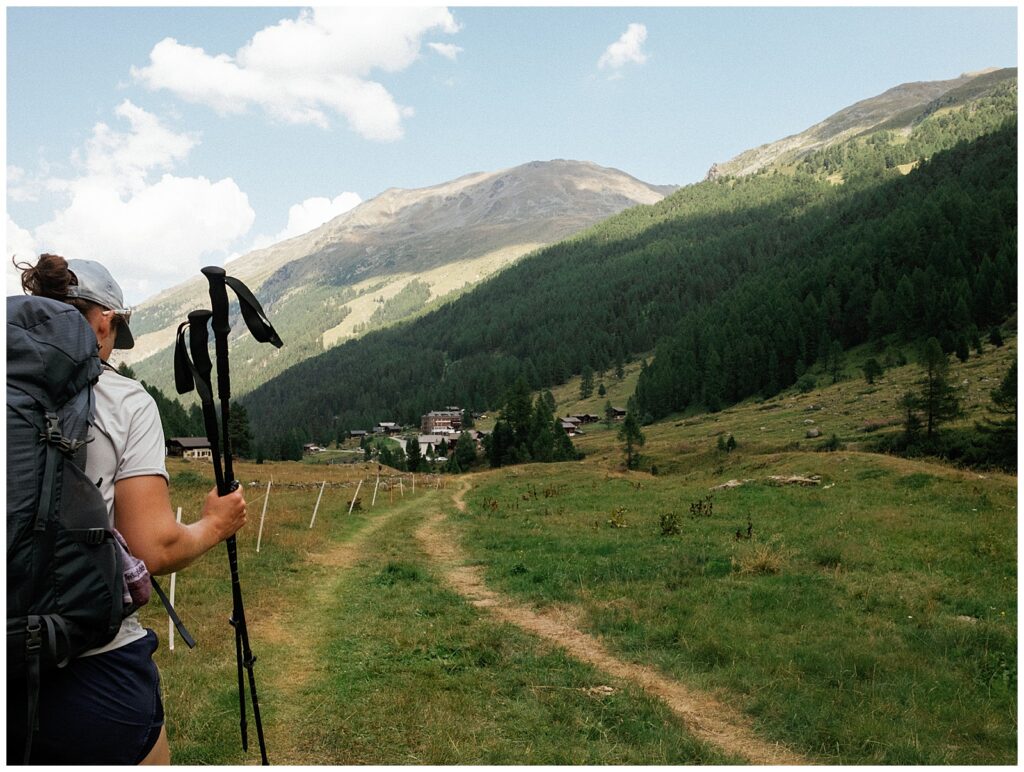
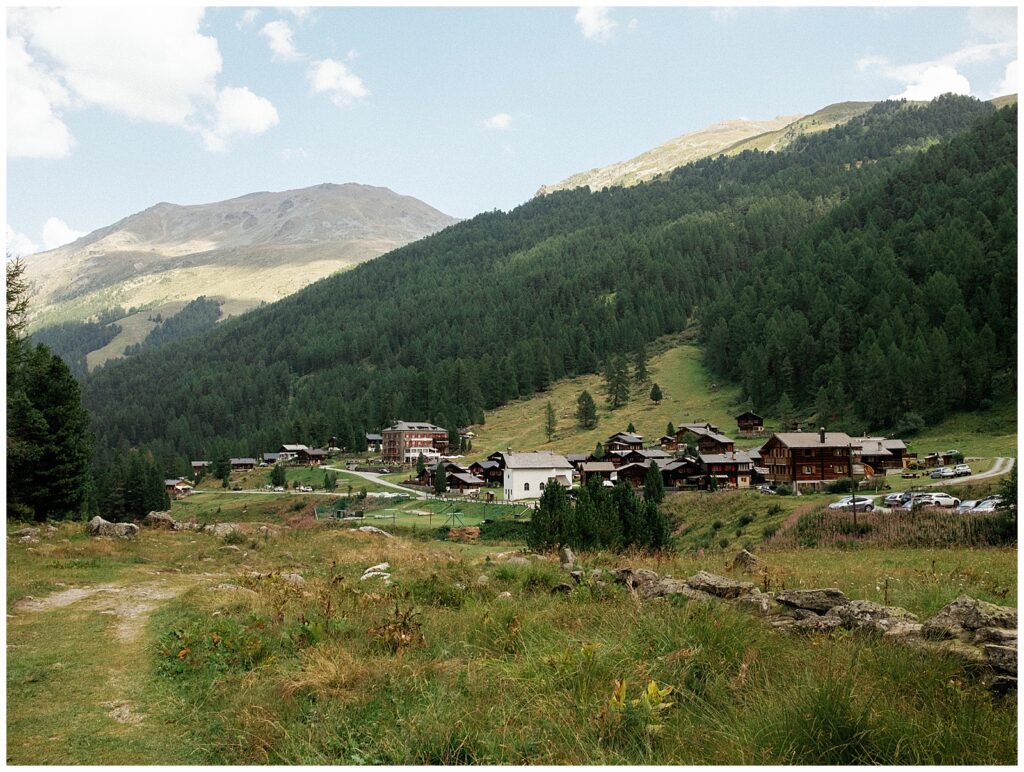
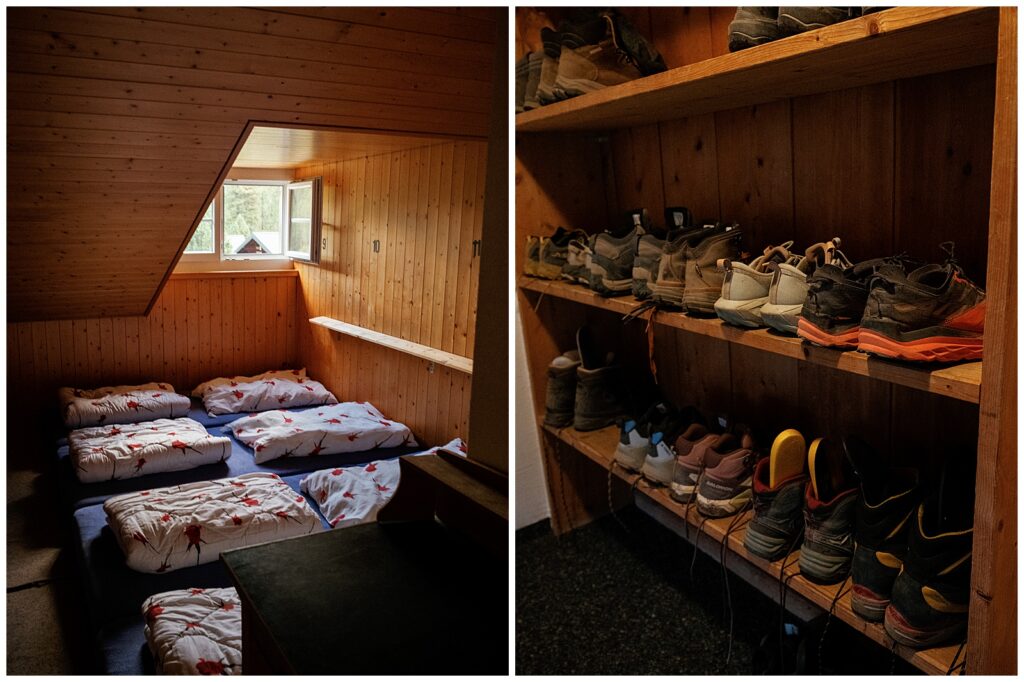
This day sort of blended into the others. It was more beautiful mountains. More uphill. More downhill. On it’s own it would be breathtaking. But, against every other day of this route, it was just another day. There is exactly one place to stay in Gruben as it is what we joked to be an “immature valley.” We meant less developed, but that phrase stuck. We stayed in the dormitory room. It’s still a relatively long day, and the dormitories are four flights of stairs up and there is no elevator. I remember laughing at that. There are two showers for everyone, so get in line as soon as you arrive to beat the wait.


Haute Route Day 8: Gruben to St Niklaus
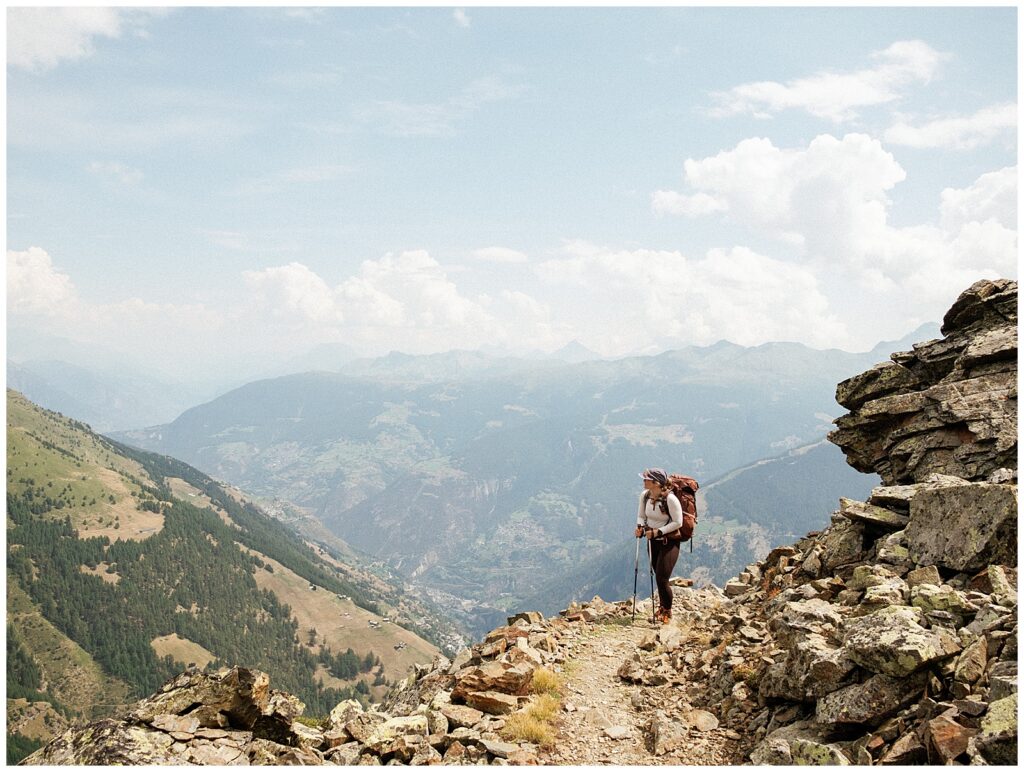
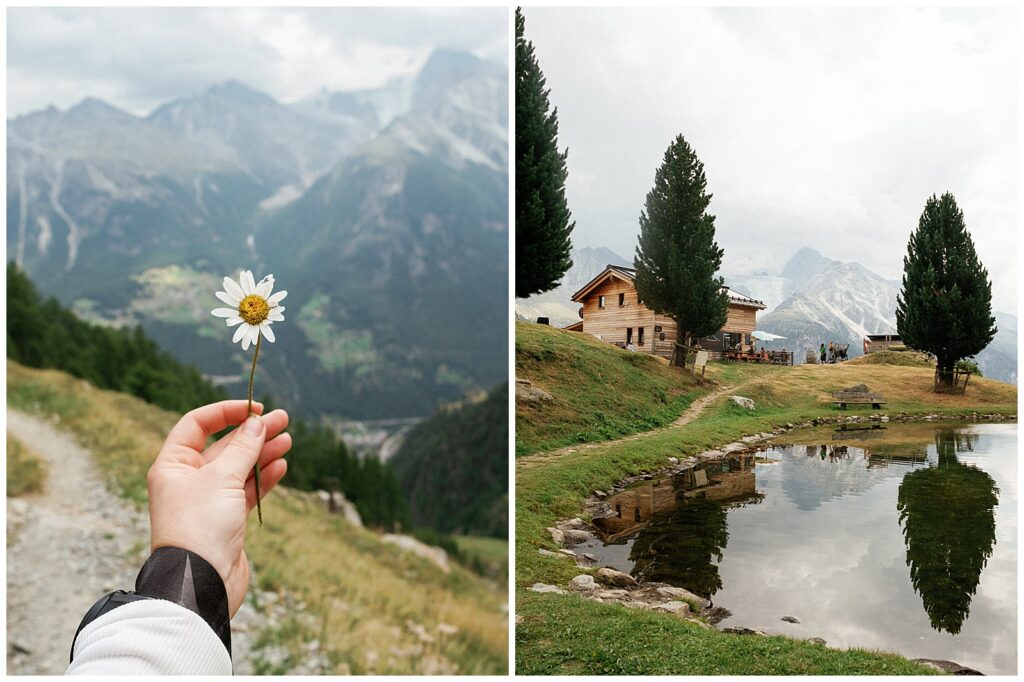
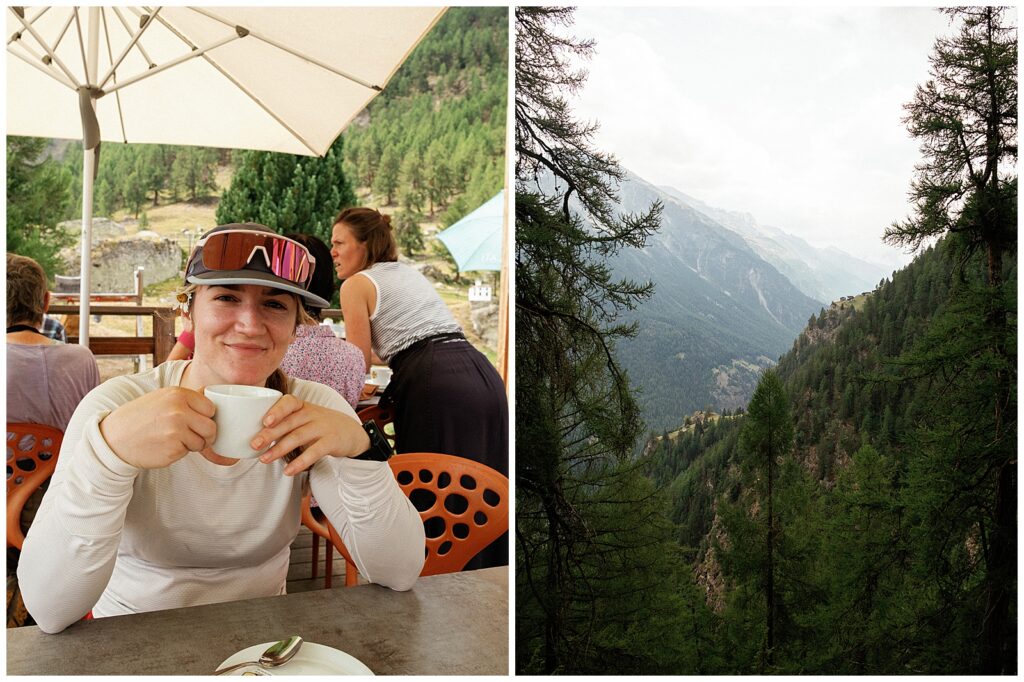
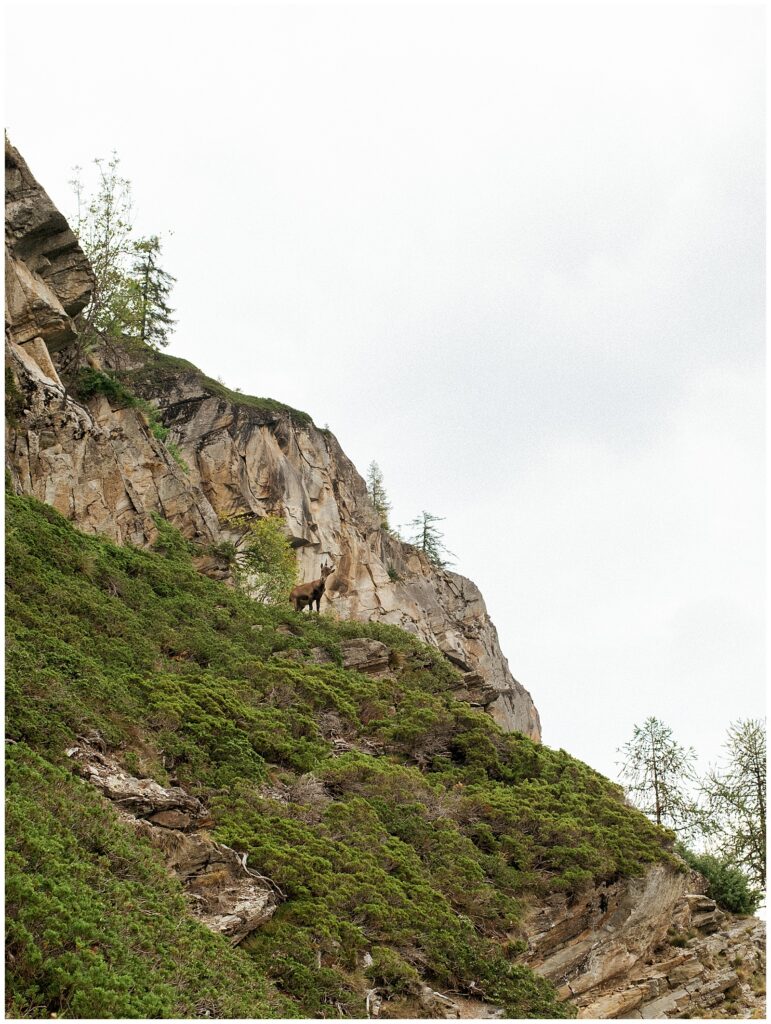
This day is one to look forward to. Again, the Haute Route is incredibly rewarding. This day is a lot with long stretch on scree and boulders, which is quite exposed in parts toward the end. But just when you think to yourself, “I am SO over these boulders,” you go around a bend to one of the most beautiful views of the trip: the valley of St Niklaus an the beginning of the Mattertal on this route. Wait until you get here to eat lunch. It will be worth it. You are now in the valley that leads to Zermatt and the Matterhorn.




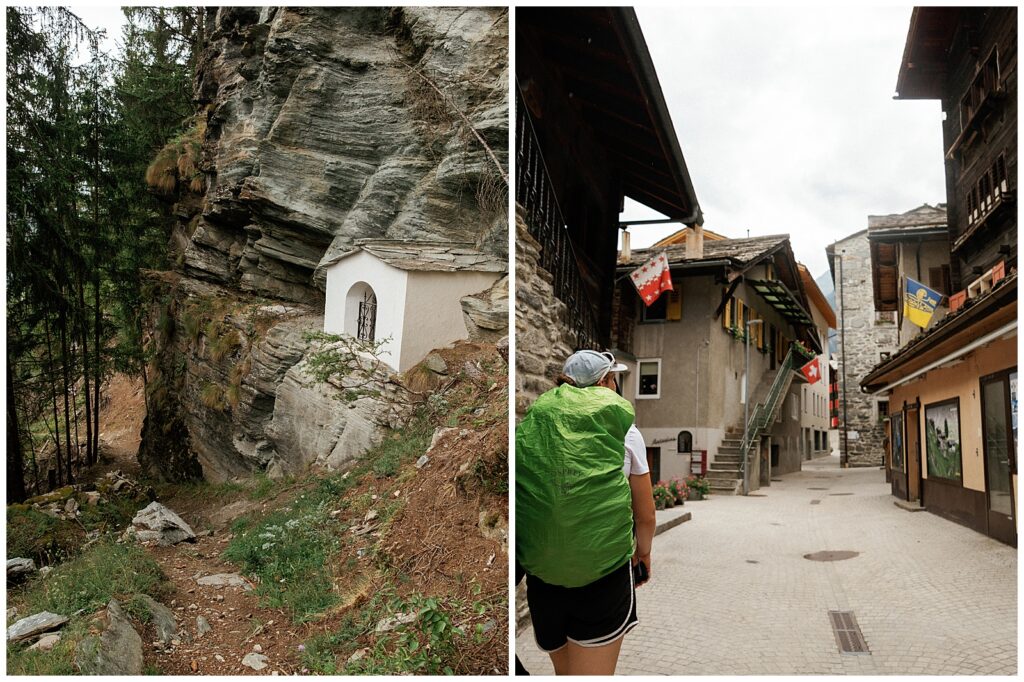

Haute Route Day 9: St Niklaus to Europahutte
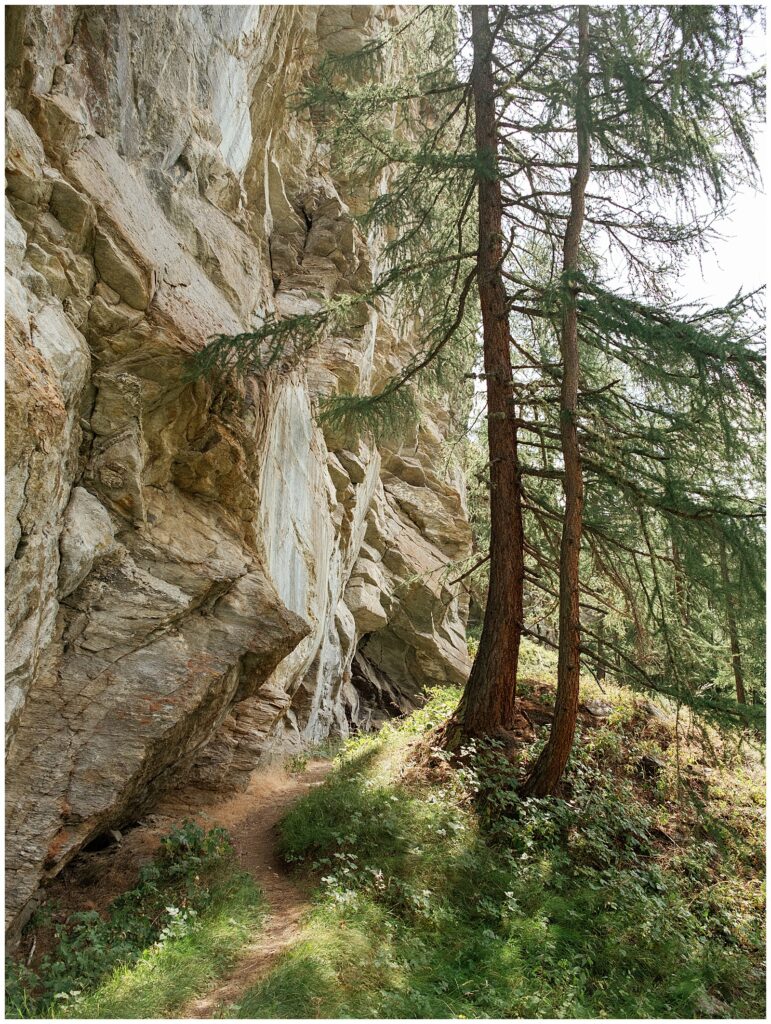
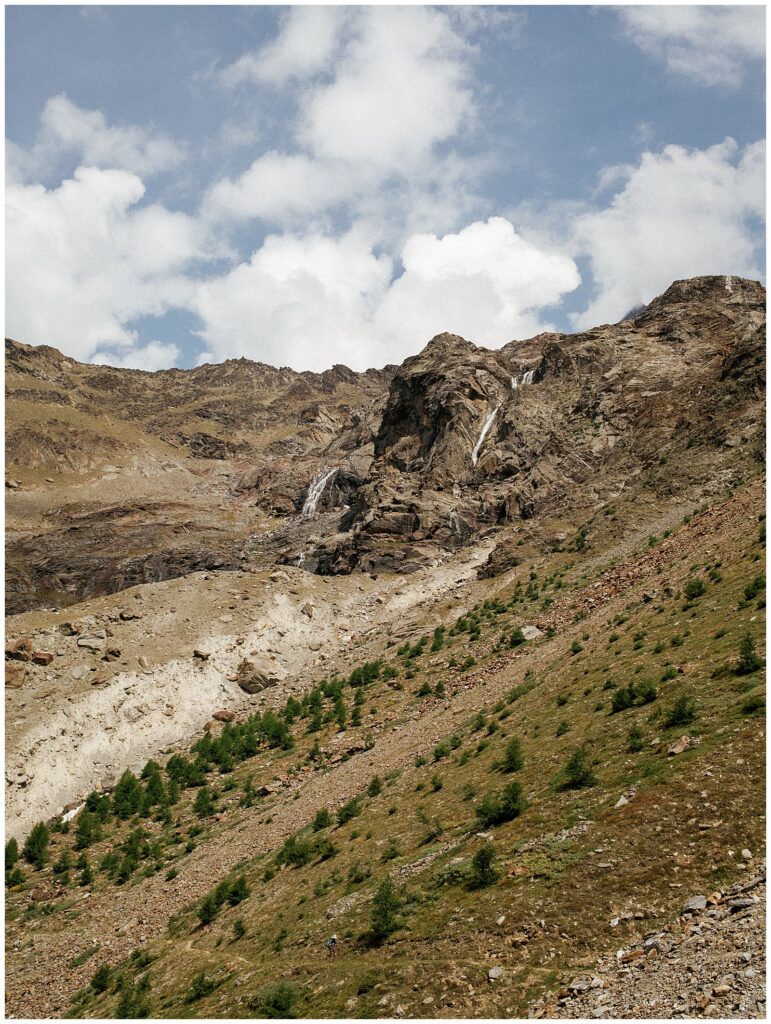
There is no sugarcoating it: this day is straight uphill. And it is steep. There are alternate ways that are less steep–I want to say if you start your ascent in Randa it is less steep. But that is not what we did. Once you start going up, you don’t stop until just before the Europahutte. But, this is the beginning of the infamous Europaweg. Though, most of it is closed now due to landslide. It still was a highlight to know we hiked and stayed on the Europaweg. You know you are close when you make it above the treeline. And you won’t see the hut until it is practically right in front of your face.


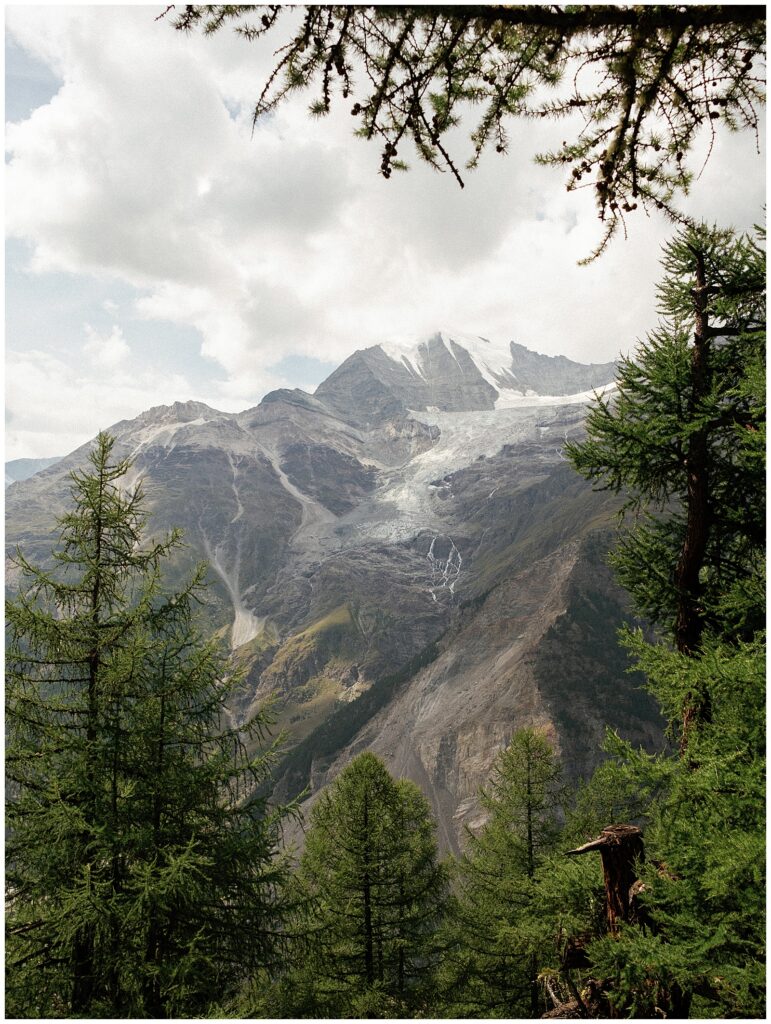




Haute Route Day 10: Europahutte to Zermatt
You’re almost at the finish!
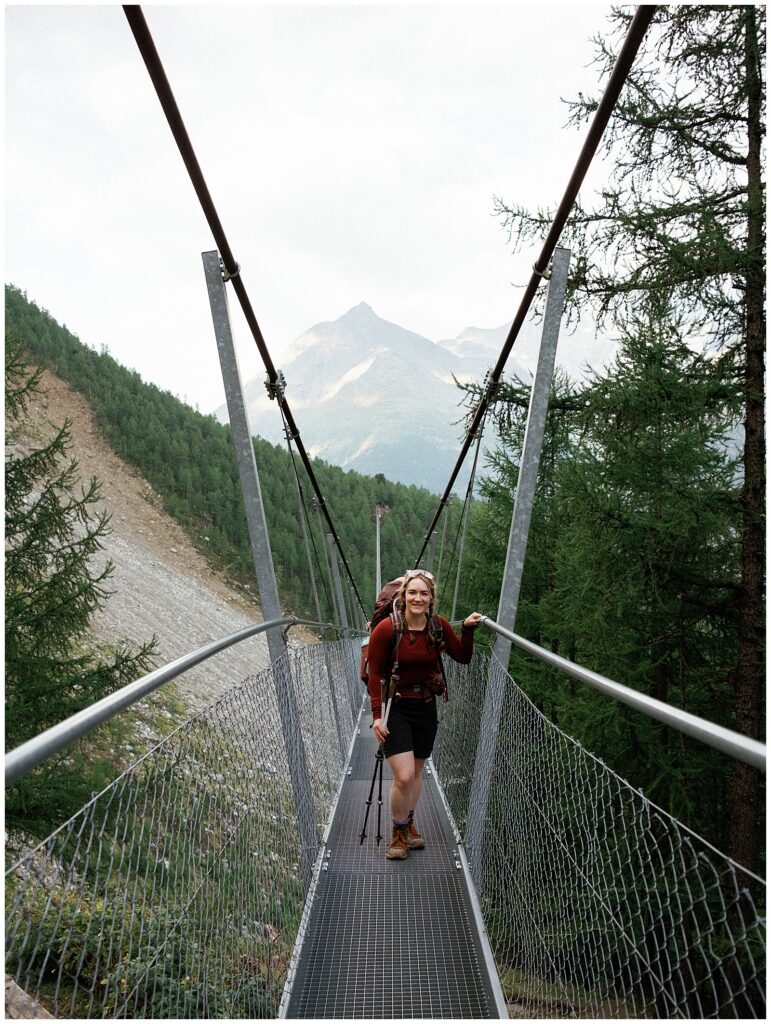
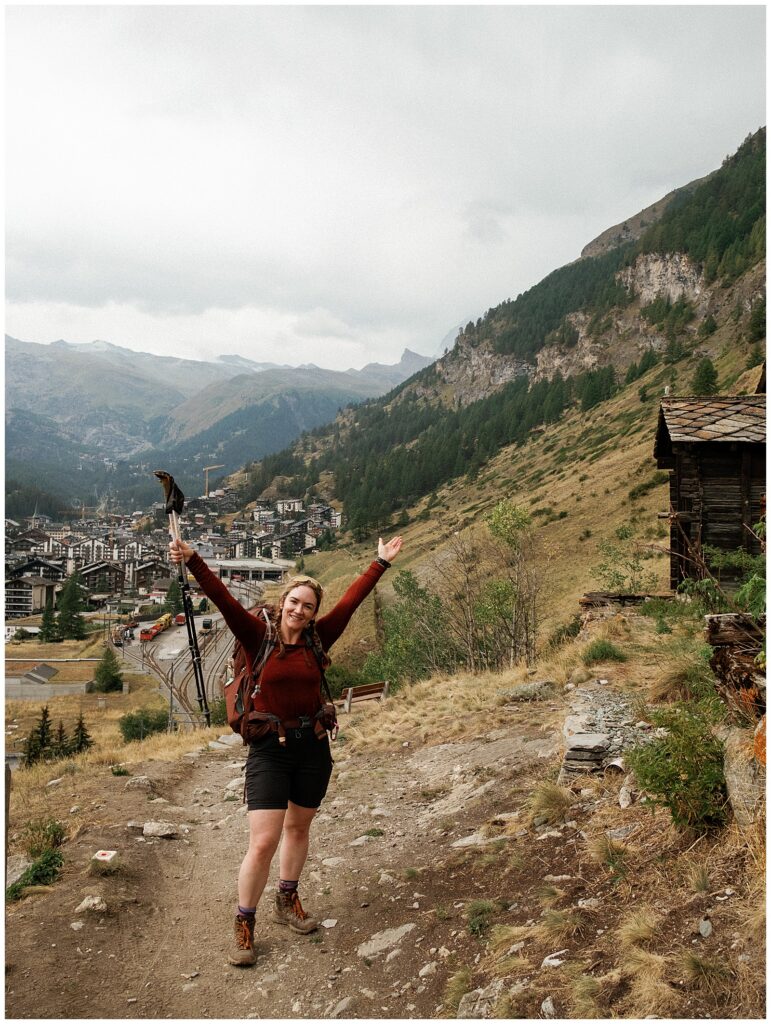
The last day of the Haute route begins by crossing the longest pedestrian suspension bridge in the Alps, which is a pretty incredible way to start your final day. Unfortunately for us, bad weather was moving in, with rain and poor visibility in the forecast. We decided to stay in the valley for the rest of the route, hoping we could make it to Zermatt quickly enough to catch a glimpse of the Matterhorn before the clouds rolled in.
We had no such luck.
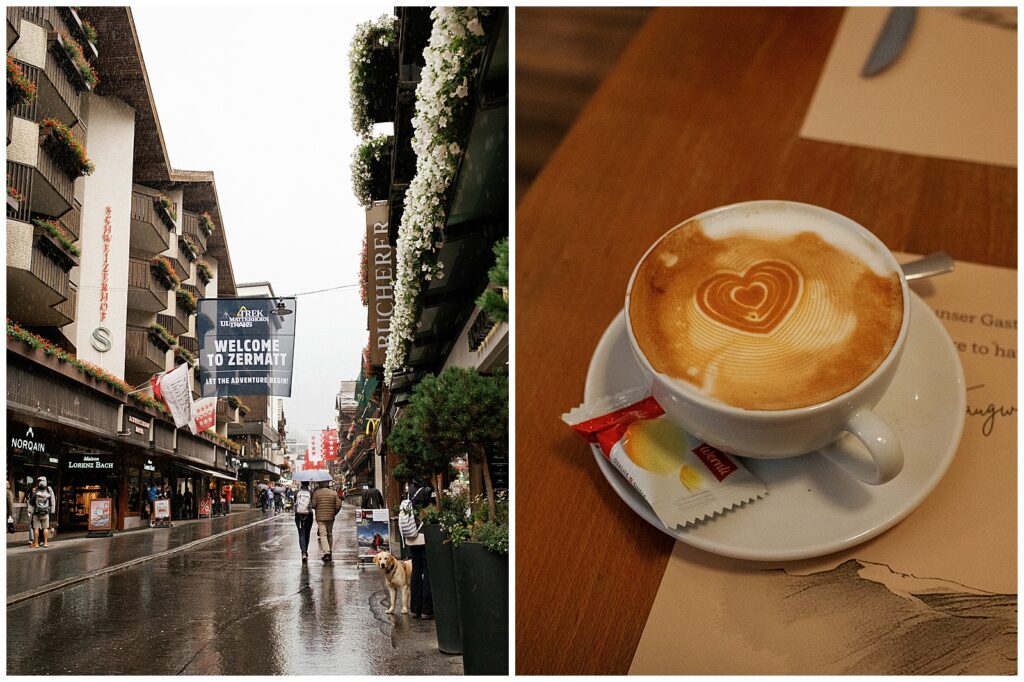
The clouds descended before noon, and the rain started before we even reached Zermatt. My train left at 6 a.m. the following morning, so no—I did not see the Matterhorn. But I think it was there?
And honestly, it didn’t matter as much as I thought it would. I had just hiked nearly 100 miles through the Alps. While I may not have seen the Matterhorn, I had seen even higher peaks along the way, and my heart was so full. I was absolutely swelling with pride that I had finished. That night, we had the best dinner and drinks with friends we’d made along the route.
That’s one of the special things about the Haute Route: you keep running into the same people. You might not see them every night, but somewhere along the way, familiar faces start to feel like friends. A group of us celebrated together in Zermatt that night. I have a great photo of all of us, but out of respect for everyone’s privacy, I’m keeping that one to myself.
At this point in my life, the Haute Route felt like the ultimate test of my fitness, courage, and personal goals.
And I did it.
I’m not saying you have to be impressed, but I was pretty damn impressed with myself.




Haute Route Packing List
I’m going to start this by saying I have room to improve. I packed slightly more than this, but if I did it again, this is what I would pack:
Electronics
- Plug adaptor for Swiss countries
- Charging cables (Garmin watch, phone, kindle)
- AirPods
- Kindle
- Headlamp (this is only needed if you will be leaving before sunrise or arriving after sunset on any day, otherwise leave it behind)
- Battery pack to charge electrical devices (some huts had limited charging ports so a couple of nights this was necessary)
Toiletries and Personal Items
- Toothpaste
- Skin cream
- Foundation stick and blush/lipstick (Optional obviously but there are maybe two nights where I’d like to wear makeup and Merit beauty is not an affiliate link, it’s just the perfect lightweight travel makeup)
- Travel size mascara (also optional)
- Curl cream (because otherwise my hair cannot be tamed)
- Toothbrush, toothpaste, travel size
- Face wipes
- Benadryl and Pepcid (I have a severe food allergy)
- EpiPen (again, food allergy)
- Advil
- Body wash/shampoo (I like the small bottle from REI that doubles as shampoo as well)
- Hand sanitiser gel
- Earplugs and eye mask (trust me on this one, it’s a life saver when you’re sleeping in a room with 10 other people)
- Towel (obviously a slightly smaller and lightweight one)
- Small first aid kit
- Knee brace (if you have occasional knee pain… it’s a lot of downhill and this can also be a life saver)
Clothing and other trail items
- 2L lightweight water bottle (I carried this with electrolytes, and saved my hydropack in my pack for regular water)
- Cash (CHF) for drinks, snacks along the trail, tips etc. I recommend 100CHF
- Passport
- Wallet
- Hydration/electrolyte tablets (one packet for every day)
- Preferred snacks for the trail
- 2.5L Hydropak (there are long stretches with no water fill ups)
- Warm hat and gloves (really important in mixed weather conditions)
- Sunglasses and sunscreen (SPF 50+ recommended due to altitude)
- Waterproof jacket (with hood)
- Synthetic or merino wool base layers (if you are going in the early summer, otherwise I just brought a shirt base layer and used that as my top around the huts that I would sleep in because it is warm)
- A dry bag for electronics
- Comfortable light shoes for around the refuge, I used
- Sturdy hiking boots or shoes (worn in)
- 2+ pairs of hiking socks, wool or synthetic (Personally I like to have fresh socks, so I would bring 4)
- Sleeping bag liner (cotton or silk). This is very important as it’s a mandatory requirement at the mountain refuges. Pillows and blankets are provided by the refuges.
- Primaloft or down jacket
- Fleece
- Sunhat
- 2 shirts
- 2 trousers (zip-off preferable) for hiking
- 2 sports bras
- Comfortable shirt and trousers for the refuges (again, I used my merino wool base layer and a single pair of shorts for this, but you will want your hut clothes to be clean and just wear them every night)
- 30-50L backpack with waist belt (plus a rain cover)
- 9 panties (this was non-negotiable for me, personally)
Now you’re packed and ready!
filed under
September 20, 2026
POSTED ON